I. Introduction
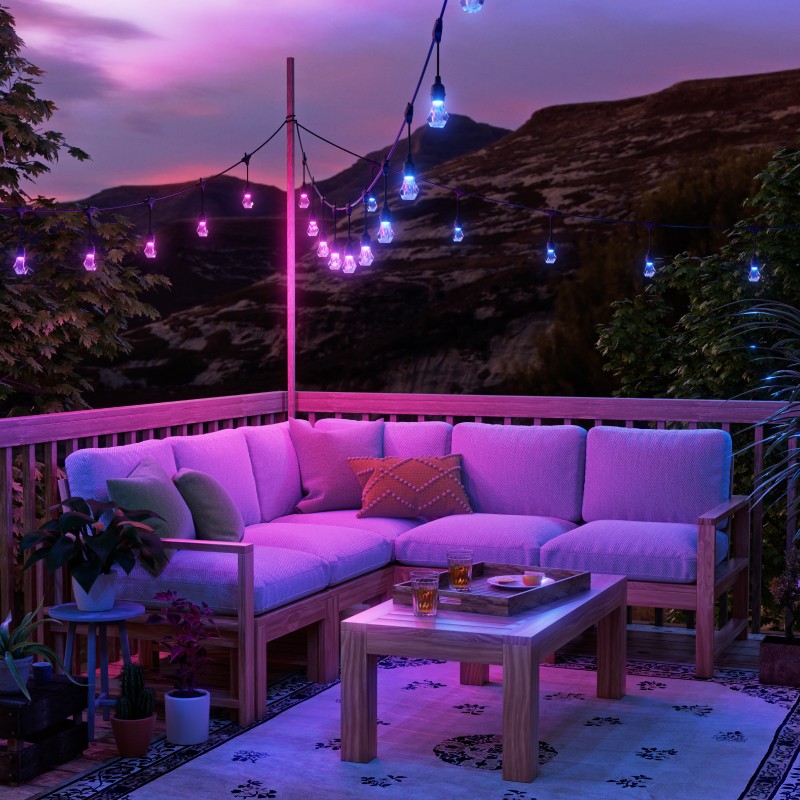
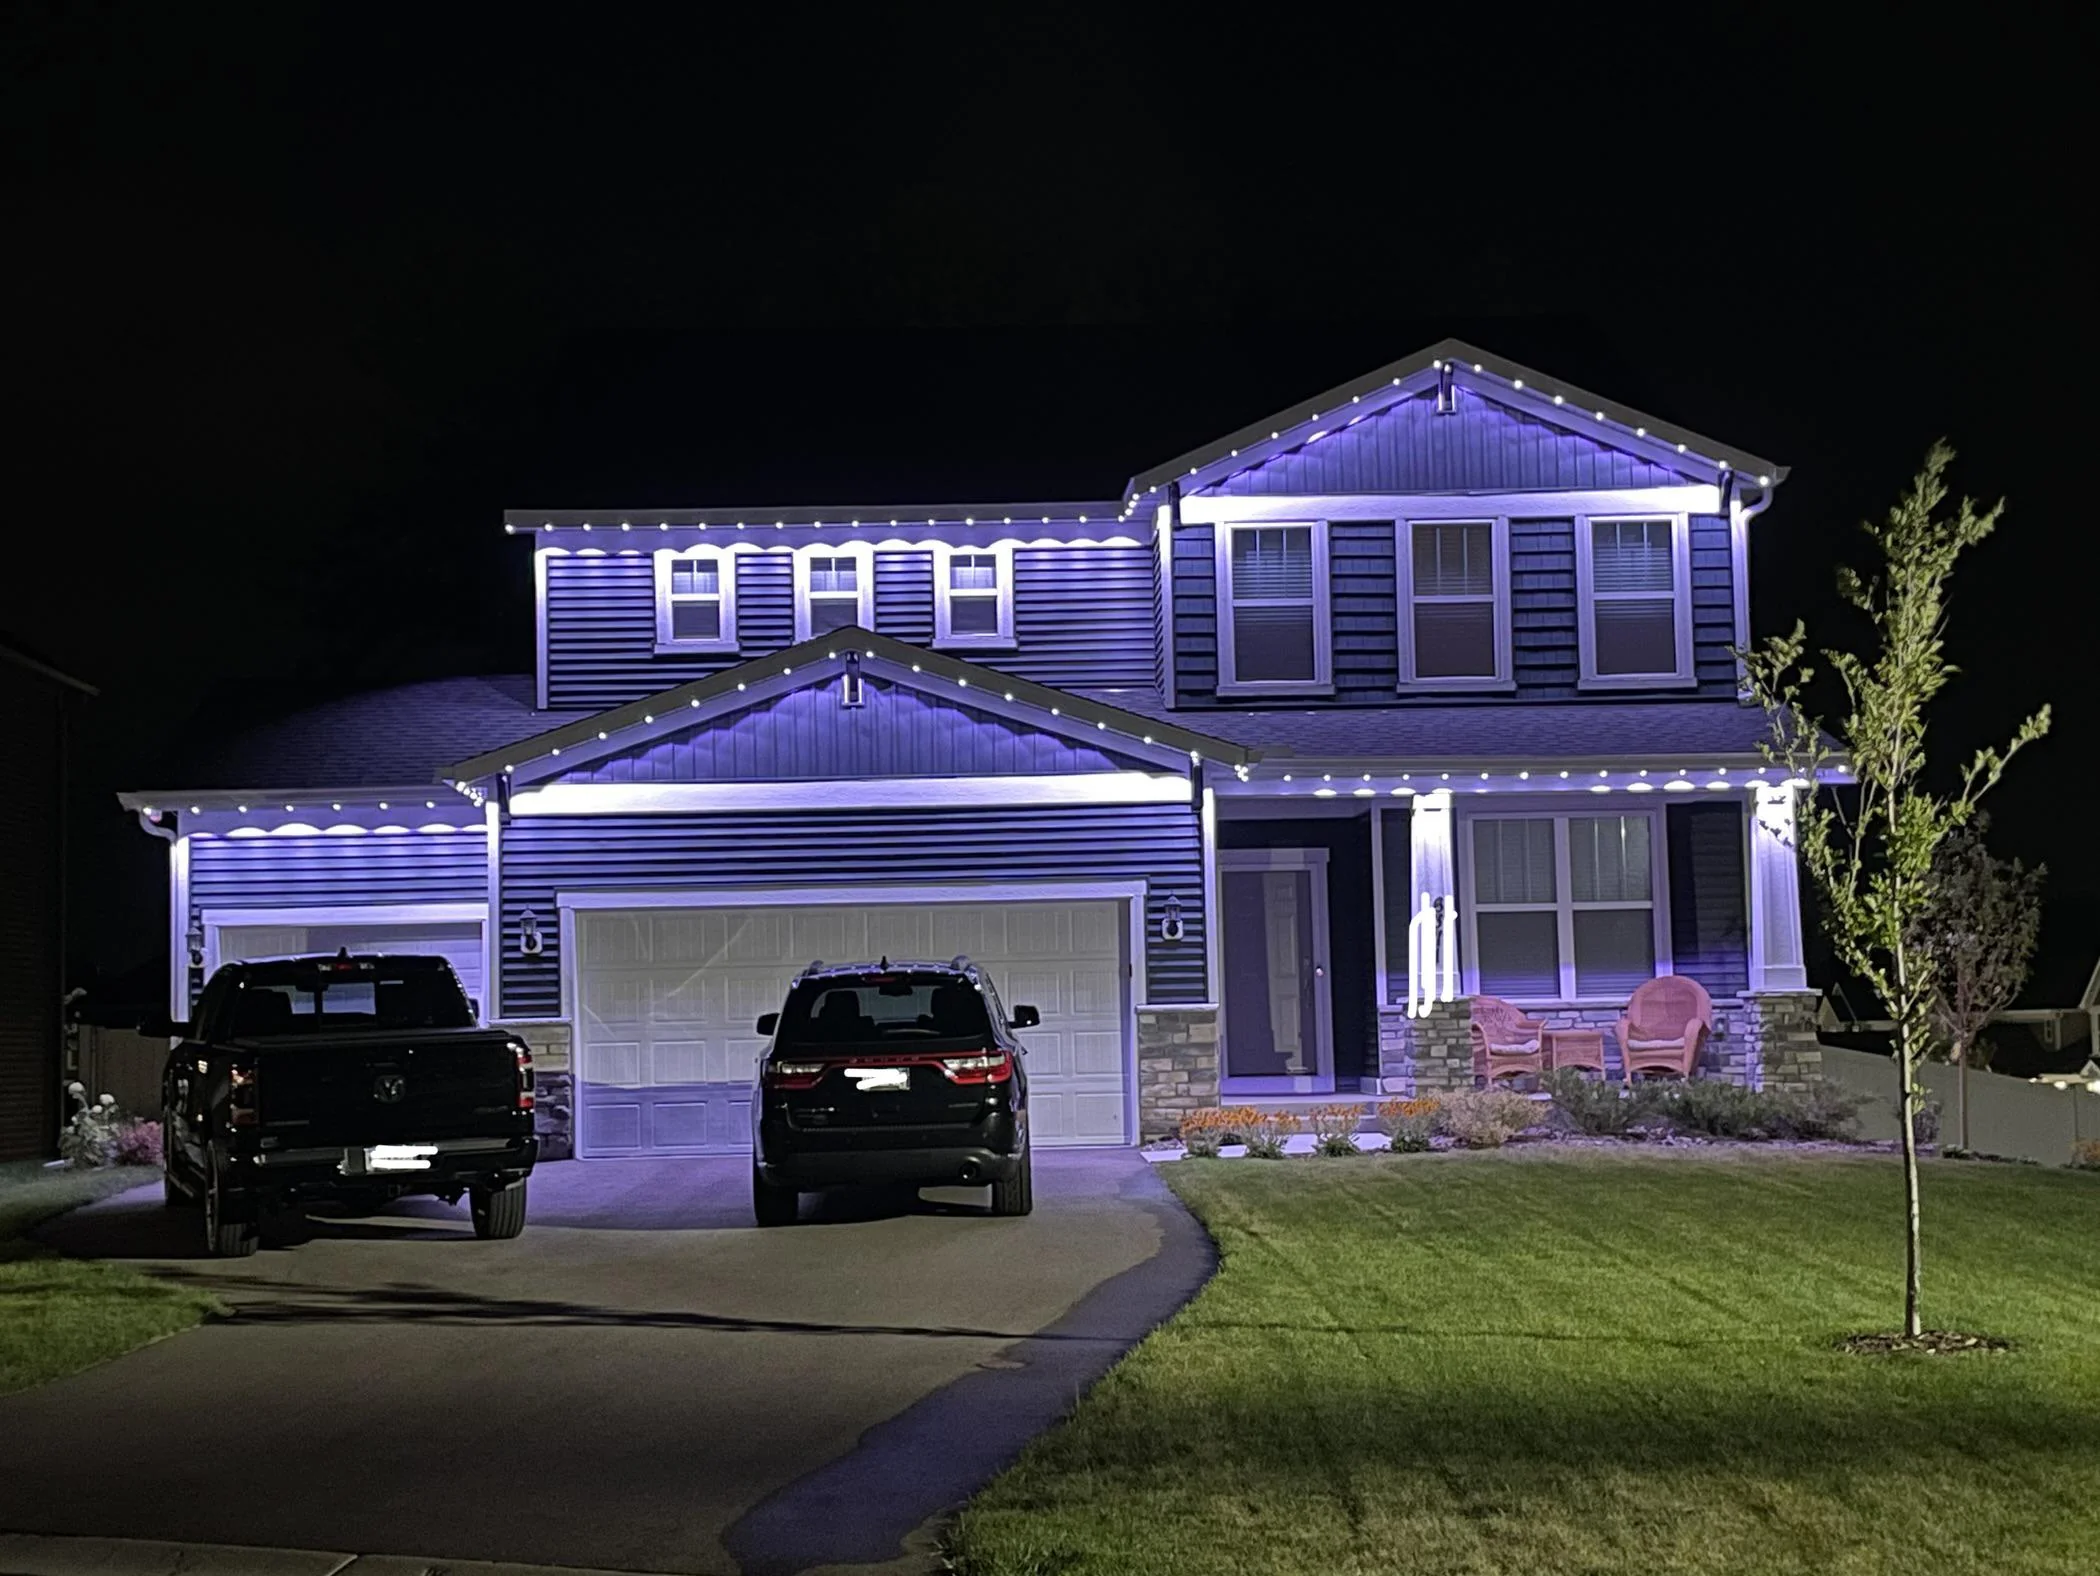
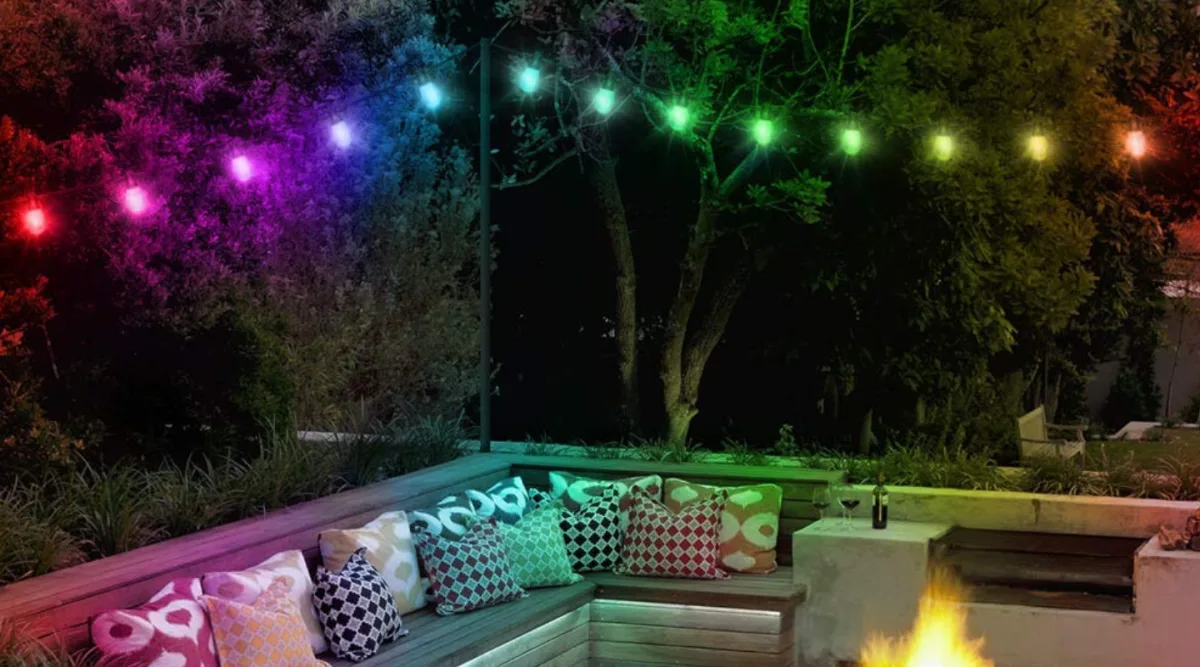
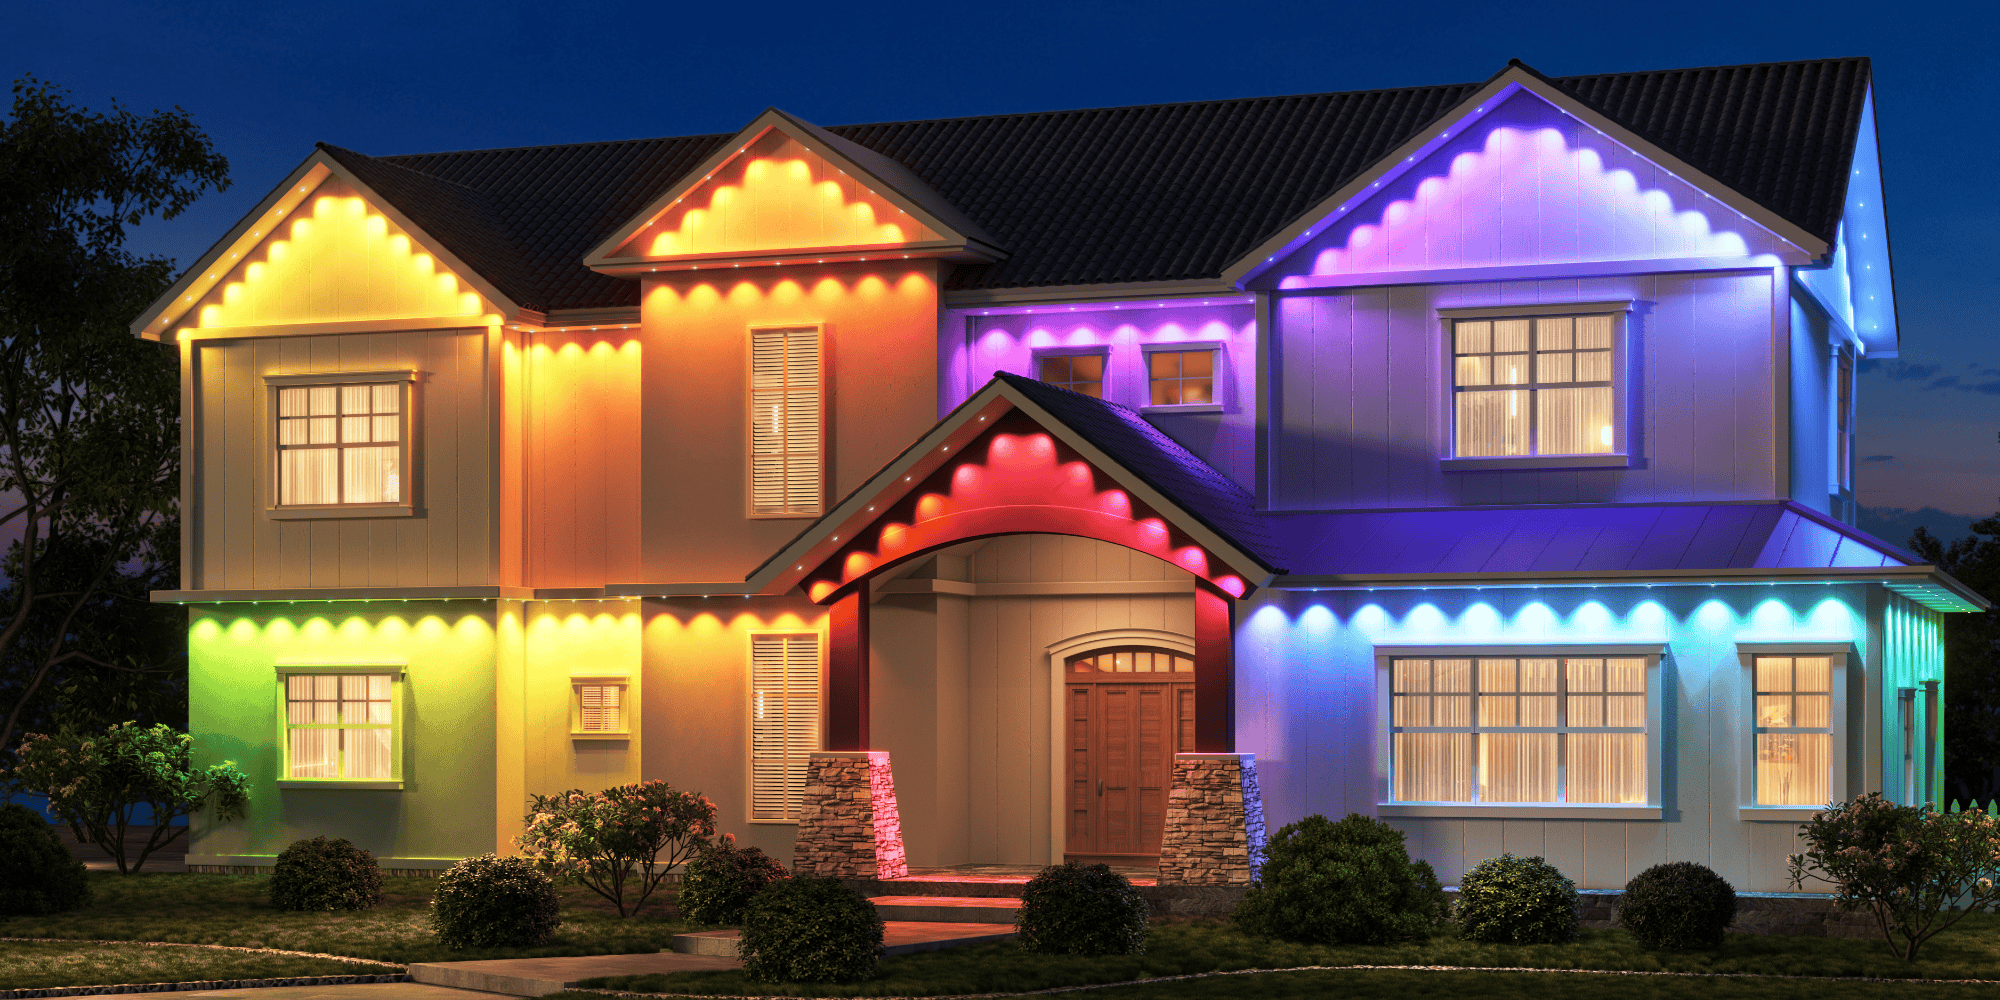
A. The benefits of installing Govee outdoor lights: Installing Govee outdoor lights offers numerous benefits, such as enhancing the visual appeal of your outdoor space, increasing safety and security, and creating a welcoming ambiance for outdoor activities.
B. Overview of what will be covered in the article: In this article, we will guide you through the process of installing Govee outdoor lights, from the initial preparation steps to the final installation. We will provide information on assessing your outdoor area, gathering the necessary tools and materials, and offer step-by-step instructions for a successful installation.
II. Pre-Installation
Preparation Before diving into the installation process, it is essential to prepare adequately to ensure a smooth and successful installation of Govee outdoor lights.
A. Assessing the outdoor area
- Determining the desired lighting locations and areas to be illuminated: Take a walk around your outdoor space and identify the areas that you wish to illuminate. Consider highlighting pathways, outdoor seating areas, architectural features, or landscaping elements. This assessment will help determine the number and placement of the Govee outdoor lights.
- Considering power source availability: Be aware of the available power sources in your outdoor area. If there are existing outdoor outlets or a nearby electrical panel, it may be relatively simple to connect the lights to a power source. If not, you may need to consider alternative options such as solar-powered lights or low-voltage transformers.
B. Gathering the necessary tools and materials
- Listing the tools required such as a ladder, drill, and screwdriver: Make a checklist of the tools you will need for the installation. Common tools include a ladder (of appropriate height), a drill with various drill bits, screwdrivers (both flathead and Phillips), and wire cutters/strippers. Having these tools readily available will make the installation process more efficient.
-
Identifying the materials needed, including Govee outdoor lights, cables, and connectors: Ensure you have all the necessary materials for the installation. This typically includes Govee outdoor lights, cables (such as low-voltage outdoor extension cables), and connectors specific to the Govee system. Refer to the product instructions or consult with a Govee representative to determine the exact materials required for your specific lighting setup.
III. Installing Govee Outdoor Lights
A. Mounting the lights
When installing Govee outdoor lights, it is important to consider the appropriate mounting method based on the surface type.
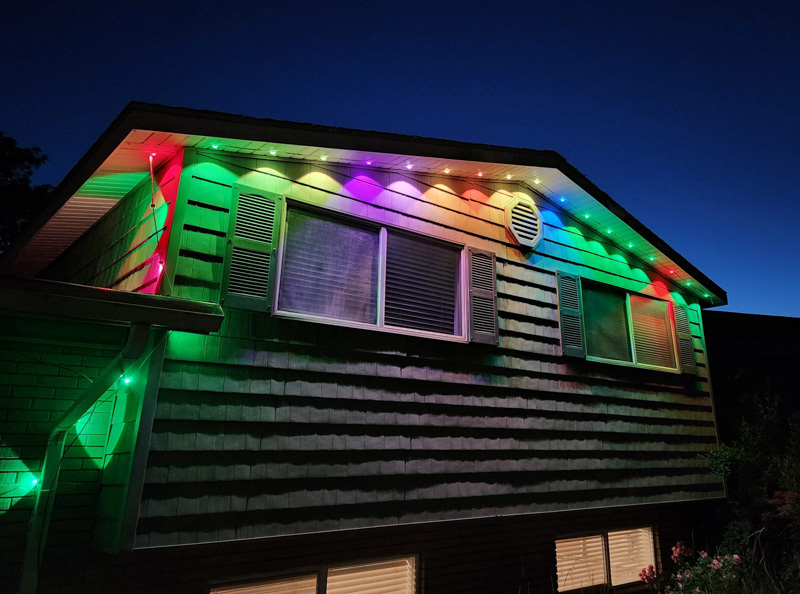
- Selecting the appropriate mounting method based on surface type (e.g., wall, fence, or ground): Carefully assess the surface where you plan to mount the lights. Depending on the surface type, you might need to use screws, brackets, or clips to securely fasten the lights. Govee typically provides different mounting options with their outdoor lights, so choose the one that suits your surface best.
- Ensuring the lights are securely fastened and aligned properly: Once you have chosen the appropriate mounting method, ensure that the lights are securely fastened to avoid any accidental dislodgement. Ensure they are aligned properly to achieve the desired lighting effect. Use a level or measuring tools to ensure accuracy.
B. Routing the cables
Routing the cables correctly is essential to optimize the lighting layout and ensure safety and aesthetics.
- Planning the cable path to optimize the lighting layout: Before routing the cables, plan the path to ensure optimal lighting layout. Consider the placement of the lights and how the cables can be routed to connect them. Take into account any obstacles, such as trees or structures, and plan the most logical and visually appealing cable path.
- Properly concealing and securing the cables to ensure safety and aesthetics: As you route the cables, it is important to properly conceal and secure them. Use cable clips, zip ties, or adhesive clips to keep the cables organized and hidden from view. This not only enhances the aesthetics of your outdoor space but also reduces the risk of accidents due to loose or exposed cables.
C. Connecting the lights and power source
Properly connecting the lights and power source ensures proper function and longevity of the Govee outdoor lights.
- Attaching the lights to the cable using connectors based on the lighting configuration: Follow the manufacturer’s instructions provided by Govee to attach the lights to the cable using the appropriate connectors. These connectors are designed to ensure a secure and reliable connection between the lights and the cable. Be sure to follow the specific instructions provided to avoid any damage or incorrect connections.
- Connecting the cable to the power source, following Govee’s installation instructions: Once the lights are attached to the cable, carefully connect the cable to the power source. This can be a Govee power supply or an electrical outlet, depending on the model you have. Follow the manufacturer’s instructions provided by Govee to ensure proper and safe connections. Improper connections can not only damage the lights but also pose a safety hazard.
IV. Testing and Adjusting

A. Turning on the lights
After completing the installation and connections, it is important to verify that all connections are secure and intact.
- Verifying all connections are secure and intact: Perform a thorough inspection of all connections, checking for any loose or improperly attached components. Gently tug on cables and connectors to ensure they are securely in place. This step is crucial to prevent any issues or malfunctions when the lights are turned on.
- Testing the lights to ensure they are functioning properly: Once you have checked all connections, it is time to turn on the lights. Make sure all switches are in the correct position and follow the manufacturer’s instructions to activate the lights. Confirm that all the lights are functioning properly and emitting the desired level of brightness.
B. Adjusting the illumination
Fine-tuning the lighting angles and positions allows you to achieve the desired brightness and effect in your outdoor space.
- Fine-tuning the lighting angles and positions for desired brightness and effect: Observe the lighting effects and adjust the angles and positions of the lights as needed. Direct the lights towards specific features or areas that you want to highlight. Experiment with different angles and positions to achieve the desired level of brightness and ambiance.
- Making any necessary adjustments to ensure optimal illumination coverage: Walk around your outdoor space to ensure that the lighting coverage is even and reaches all desired areas. Make any necessary adjustments to ensure optimal illumination coverage. This could involve repositioning lights, adding or removing lights, or adjusting the height or angle of the lights.
V. Conclusion
Installing Govee outdoor lights can significantly enhance the appeal and functionality of your outdoor space. By following the steps outlined in this article, you can confidently mount the lights, route the cables, and connect the lights to a power source. Finally, by testing and adjusting the illumination, you can fine-tune the lighting to create the perfect ambiance. Enjoy the stunning illumination provided by Govee outdoor lights and transform your outdoor space into a beautiful and inviting area for various activities.