I. Introduction
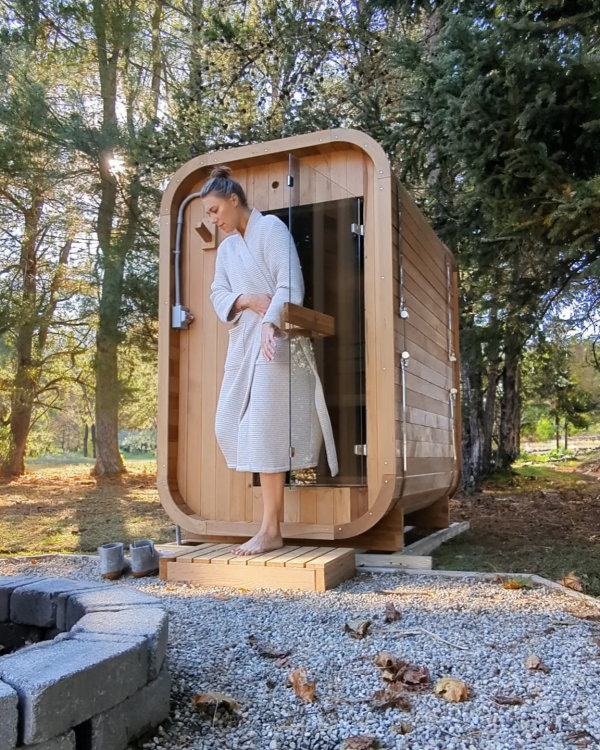
Creating an outdoor sauna on your property offers numerous benefits for relaxation and overall well-being. This article will explore the advantages of having an outdoor sauna and provide an overview of the process of building one.
II. Planning and Preparation
A. Choosing the Right Location
- Assessing available space and privacy: Consider the size of your property and identify a suitable location where the sauna can be placed without obstructing other structures. Ensure there is enough privacy for a peaceful sauna experience.
- Considering proximity to utilities and the main house: Determine the feasibility of connecting the sauna to utilities such as electricity, water, and drainage. Choose a location that allows for convenient access to these utilities if needed.
B. Selecting the Sauna Type
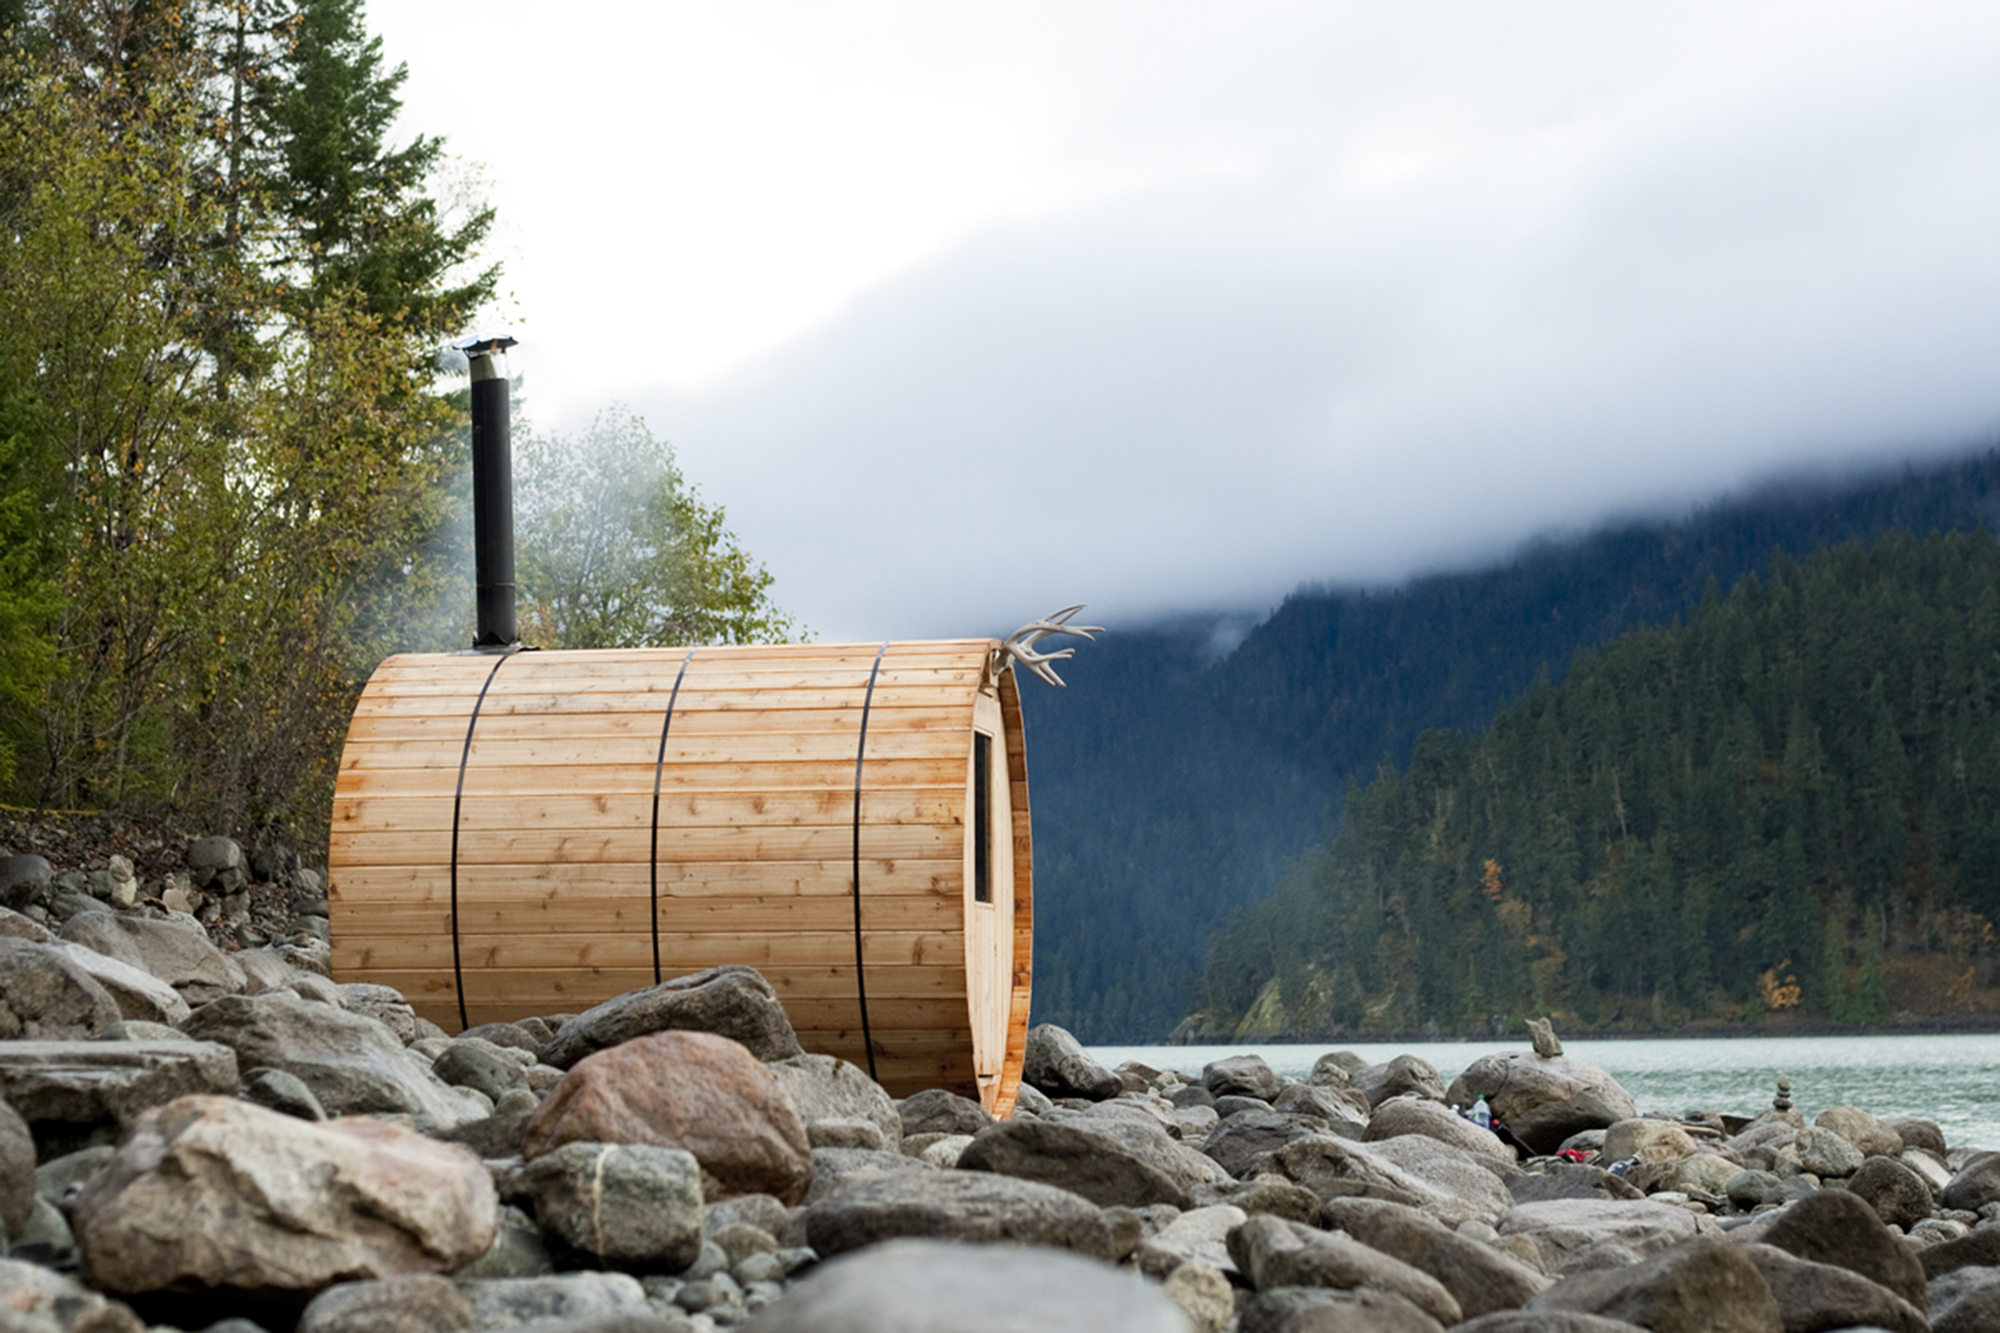
- Traditional wood-burning sauna: Explore the classic option of a wood-burning sauna, known for its natural heat and rustic charm. This sauna type requires a chimney and proper ventilation.
- Electrical sauna options: Consider the ease of use and convenience of an electric sauna, where the temperature can be controlled with a thermostat. This type is suitable for those who prefer a hassle-free sauna experience.
- Infrared sauna considerations: Explore the benefits of infrared saunas, which use infrared light to heat the body directly. These saunas operate at lower temperatures and are efficient in terms of energy consumption.
III. Construction and Installation
A. Sauna Building Materials and Design
- Selecting suitable building materials, such as cedar or redwood: Choose materials known for their durability, resistance to humidity, and aesthetic appeal. Cedar and redwood are commonly used due to their natural resistance to fungal growth and decay.
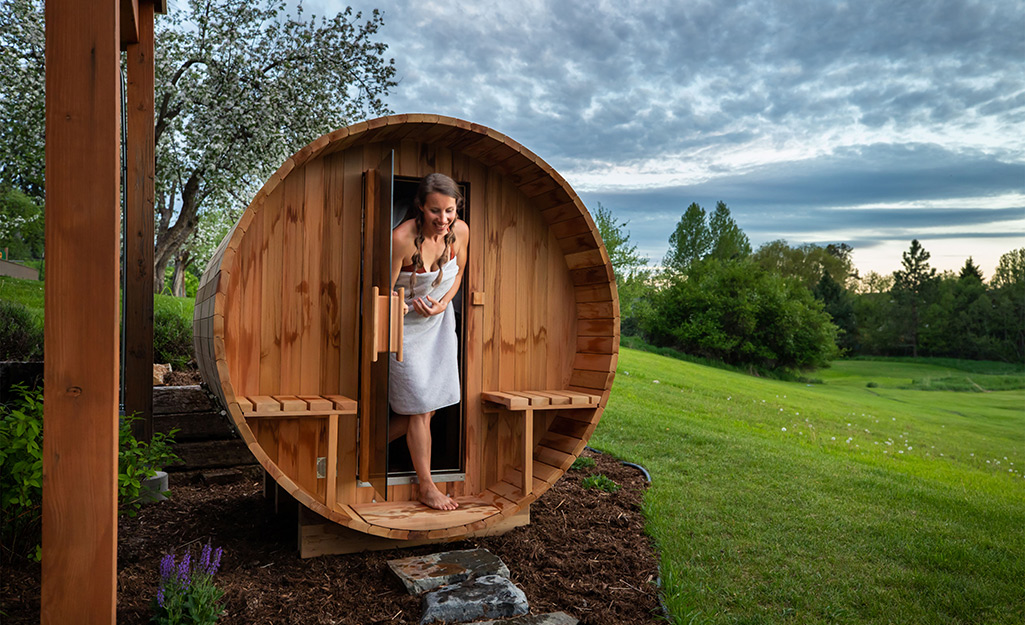
- Determining the size and shape of the sauna structure: Consider the number of people who will be using the sauna and plan accordingly. Decide whether the sauna will be standalone or attached to an existing structure, such as a pool house or patio.
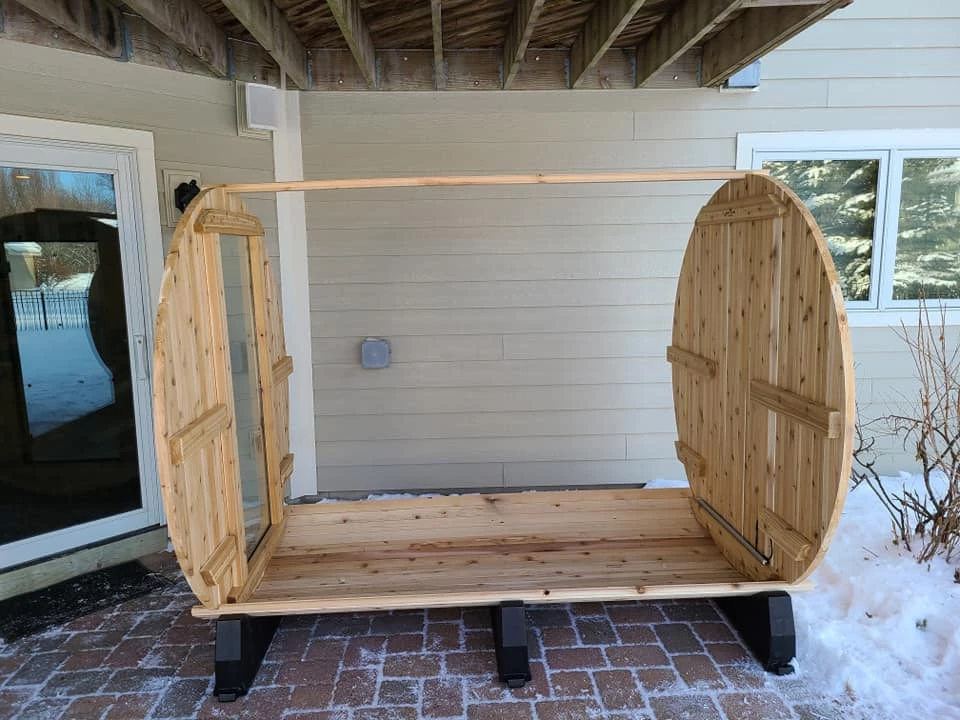
B. Framing and Assembly
- Building the sauna walls, floor, and ceiling: Use appropriate framing techniques to construct the walls, focusing on creating a sturdy and well-insulated structure. Ensure proper ventilation by incorporating vents or windows.
- Installing sauna benches and seating areas: Consider the number of individuals who will be using the sauna and install adequate benches or seating areas. Use materials that are resistant to heat and humidity, such as cedar or tile.
C. Heat and Insulation
- Choosing the appropriate heating system based on sauna type: Select the appropriate heating system that aligns with the chosen sauna type. This could include a wood-burning stove, electric sauna heater, or infrared heating elements.
- Ensuring proper insulation for heat retention and energy efficiency: Insulate the sauna walls, ceiling, and floor to prevent heat loss and improve energy efficiency. Use insulation materials that are suitable for saunas and follow recommended installation techniques.
IV. Sauna Equipment and Accessories
A. Heating Systems
- Wood-burning stove installation and maintenance
- Selecting a suitable wood-burning stove and chimney system based on the size and design of the sauna.
- Installing the stove and chimney according to manufacturer instructions and local building codes.
- Conducting regular maintenance, including cleaning the chimney, inspecting the stove, and ensuring proper air circulation.
- Electric heater selection and installation
- Choosing an electric heater that suits the size and power requirements of the sauna.
- Installing the heater in a safe and accessible location, ensuring proper ventilation.
- Connecting the heater to a dedicated electrical circuit to handle the load.
B. Ventilation and Air Circulation

- Installing vents and fans to ensure proper airflow
- Determining the appropriate number and placement of vents to allow for air intake and circulation.
- Installing fans to enhance airflow and prevent the buildup of heat and humidity.
- Regularly cleaning and maintaining vents and fans to ensure optimal performance.
- Placement of air intake and exhaust vents
- Strategically positioning air intake and exhaust vents to avoid stagnant air and promote efficient air exchange.
- Placing the intake vent closer to the floor and the exhaust vent near the top of the sauna for effective ventilation.
C. Lighting, Controls, and Safety Features
- Selection and placement of sauna lighting fixtures
- Choosing sauna-friendly lighting fixtures that are heat resistant and moisture-proof.
- Ensuring proper placement of lights to provide adequate illumination and create a relaxing ambiance.
- Installing temperature controls and timers
- Selecting and installing temperature controls and timers to regulate the heat inside the sauna.
- Setting up the controls to maintain the desired temperature and duration of sauna sessions.
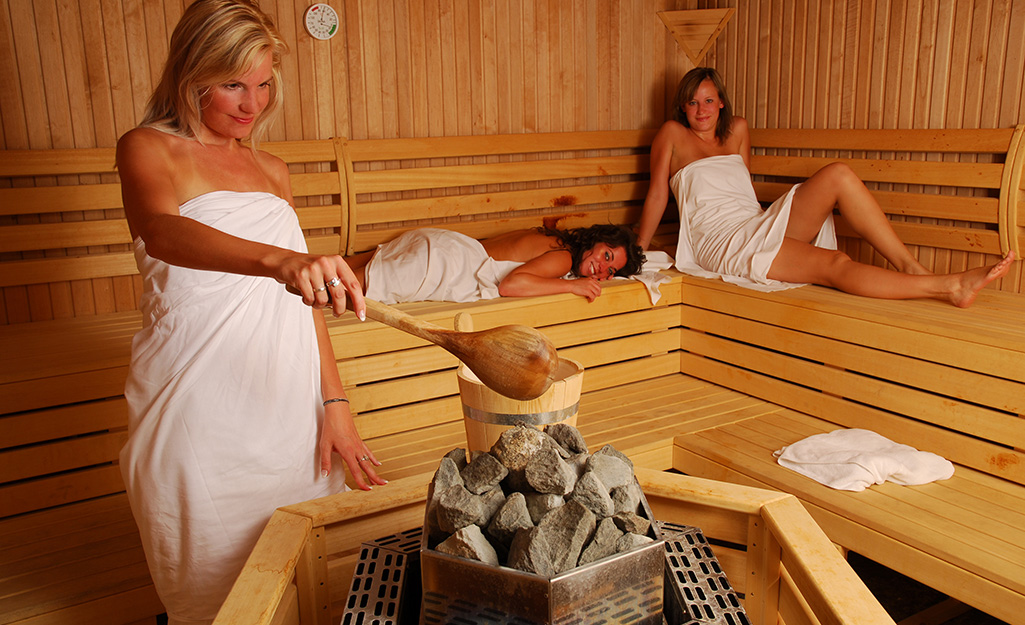
- Incorporating safety features, such as sauna rocks and door handles
- Placing sauna rocks on top of the heating element to generate steam as desired.
- Installing sturdy door handles that are easy to grip and operate, ensuring safe entry and exit.
V. Finishing Touches and Maintenance
A. Interior Finish and Décor
- Applying sauna-specific sealants and finishes
- Treating the interior surfaces with sealants and finishes designed for high heat and humidity conditions.
- Protecting the wood from moisture damage and ensuring easy cleaning.
- Choosing sauna-friendly décor and accessories
- Selecting sauna-friendly materials, such as wooden benches, floor coverings, and towel hooks.
- Adding natural elements like plants and bamboo mats to enhance the sauna’s aesthetic appeal.
B. Outdoor Sauna Plumbing Considerations
- Installing a cold shower or water source near the sauna
- Incorporating a nearby water source for cooling down or rinsing off after sauna sessions.
- Installing a cold shower or hose with proper plumbing connections.
- Incorporating drainage for excess water
- Ensuring proper drainage to prevent water accumulation in and around the sauna area.
- Considering the slope of the surrounding ground and installing drainage systems as necessary.
C. Maintenance and Care
- Regular cleaning and sanitization
- Establishing a routine for cleaning the sauna interior, including benches, floors, and walls.
- Using sauna-safe cleaning products and avoiding harsh chemicals.
- Seasonal maintenance and inspections
- Conducting regular inspections of the sauna structure, heating system, ventilation, and electrical components.
- Performing maintenance tasks such as tightening connections, replacing worn-out parts, and ensuring safety features are in good working condition.
VI. Conclusion
Building an outdoor sauna involves careful selection and installation of essential equipment and accessories. A well-functioning heating system provides the desired heat and contributes to a comfortable sauna experience. Proper ventilation, lighting, temperature controls, and safety features ensure a safe and enjoyable sauna environment. Attention to interior finish and décor creates a visually appealing space, while outdoor plumbing considerations and maintenance and care guarantee long-term durability and functionality. By following proper installation techniques and implementing regular maintenance practices, you can create and maintain a relaxing outdoor sauna retreat to rejuvenate and enhance your overall well-being.