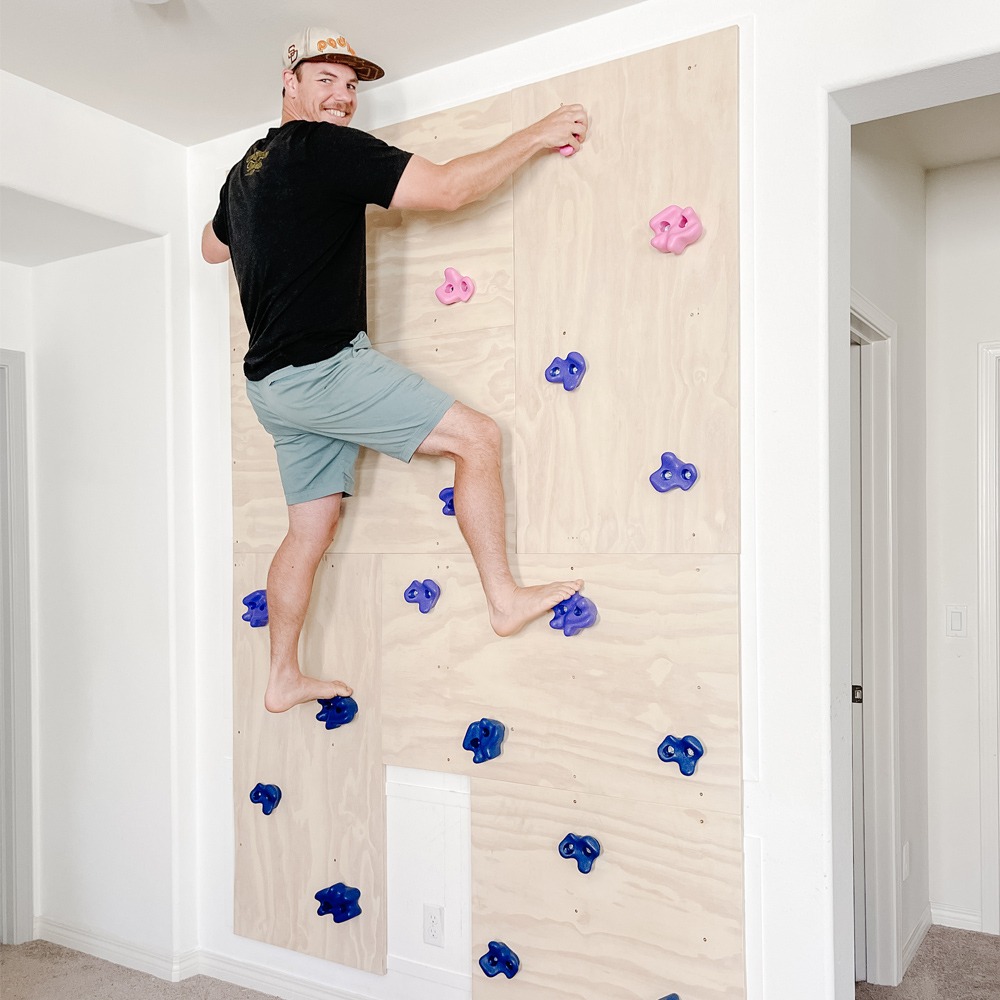
Benefits of Having an Indoor Climbing Wall
Adding an indoor rock climbing wall to your space comes with many advantages. First, it offers a convenient way to stay active and fit. There’s no need to drive to a gym or wait for good weather. You can climb any time, right in the comfort of your own home.
Planning Your Indoor Climbing Space
Before you start building your indoor rock climbing wall, planning is key. A well-thought-out space ensures safety, functionality, and enjoyment. Here are steps to help you plan effectively:
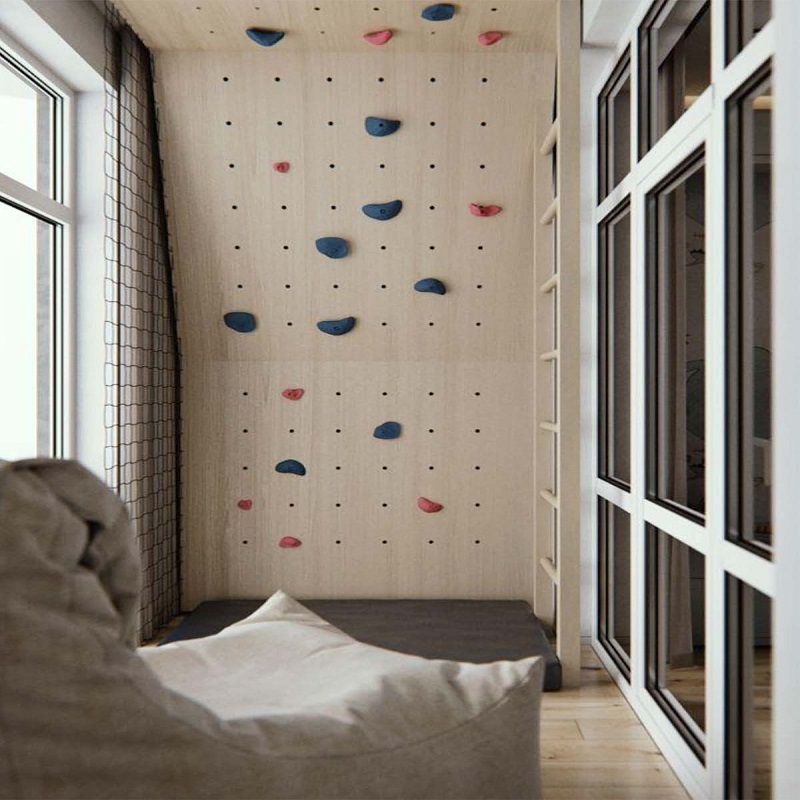
- Choose the Right Location: Find an area in your home that offers enough space for climbing and falling. Basements, garages, or spare rooms are popular choices. Ensure the ceiling is high enough for the type of climbing you envision.
- Measure the Space: Precisely measure the height and width of the wall you want to build. These dimensions will dictate how much material you need and the complexity of routes you can set.
- Decide on the Wall Angle: Walls can be vertical, inclined (overhung), or a mix. Consider your skill level and training goals. Beginners might start with a vertical wall, while advanced climbers may prefer an overhung wall for a greater challenge.
By following these guidelines, you can create an ideal indoor rock climbing wall that suits your preferences. Every detail matters in making your climbing experience safe and enjoyable.
Essential Materials and Tools for Construction
When you start building an indoor rock climbing wall, you need the right materials and tools. Here is a list of essentials:
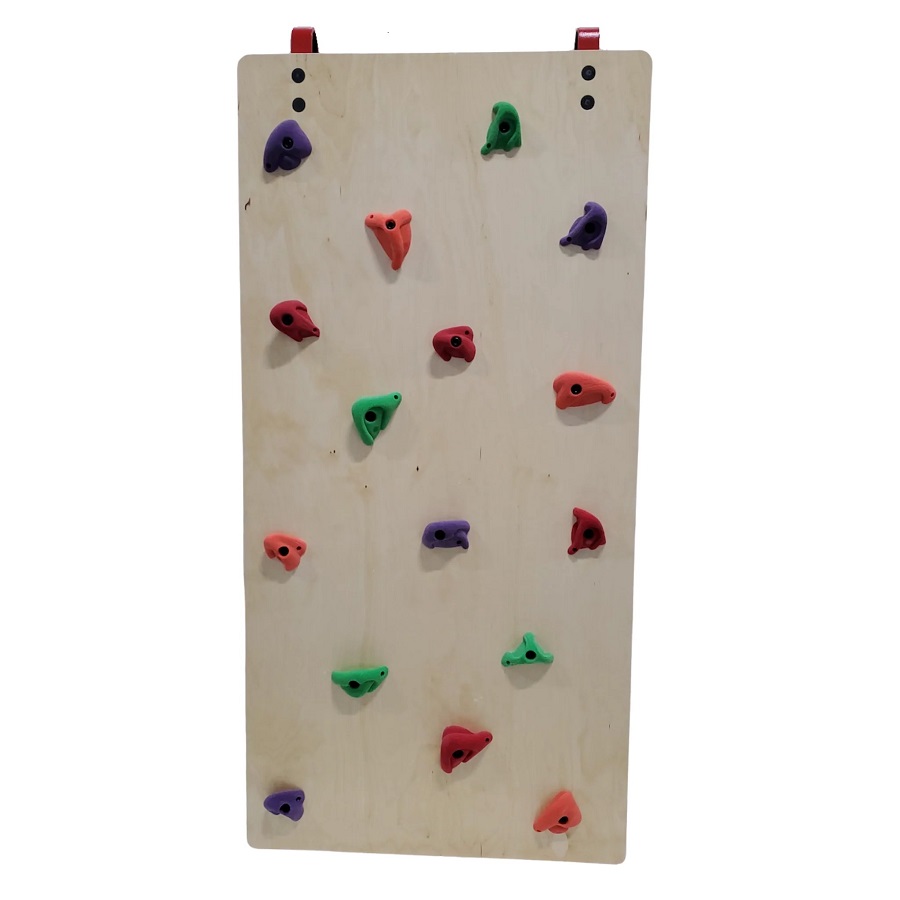
- Plywood Sheets: Choose thick, durable plywood for the wall’s surface.
- Climbing Holds: Buy various shapes and sizes to create diverse routes.
- T-Nuts: These are for securing the holds to the plywood.
- Drill and Drill Bits: You’ll need these to attach the T-nuts and holds.
- Screws and Bolts: Make sure they are long enough to secure the plywood and holds.
- Wrenches and Screwdrivers: For tightening holds and other hardware.
- Stud Finder: This helps locate support beams in walls for a secure setup.
- Level: Ensure your holds and panels are even and properly positioned.
- Saw: For cutting plywood to the right dimensions.
- Climbing Wall Matting: Choose good quality crash pads or flooring.
Gather these items before you begin construction. Quality materials make your wall safe and long-lasting. Proper tools will aid in building a sturdy and reliable climbing wall in your home. Keep everything handy to create a smooth building process.
Step-by-Step Construction Process
Building your indoor rock climbing wall involves several steps. Here’s what to do from start to finish.
- Wall Preparation: Begin by cleaning the area where you’ll install the wall. Ensure the location is clear of any obstacles.
- Install Structural Supports: If needed, reinforce the wall with additional beams or supports, following your prior assessment.
- Cut Plywood Sheets: Measure and cut the plywood panels according to your wall’s dimensions.
- Fix T-Nuts: Drill holes in your panels and fix T-nuts on the plywood’s backside. This is where the holds will screw in.
- Mount the Plywood: Secure the plywood panels to the wall structure with screws. Check with a level for evenness.
- Attach the Climbing Holds: Screw in the holds into the T-nuts. Arrange them in diverse patterns for various routes.
Now, your indoor rock climbing wall should be ready. Remember to keep safety as your priority throughout the process. Follow each step with care to build a robust, enjoyable climbing space.
Safety Considerations for Climbing Walls
Building an indoor rock climbing wall is exciting. Yet safety is the most crucial aspect you must consider. Injuries can happen, so your wall must meet safety standards. Here are key safety considerations:
- Use Quality Materials: The durability of your climbing wall depends on the materials. Use high-grade plywood and reliable climbing holds. Don’t compromise on quality for cost savings.
- Secure Installation: Make sure your wall structure is strong. Use proper screws and bolts. Check that everything is tight and secure. Regular checks are necessary to maintain safety.
- Adequate Padding: Good flooring can prevent serious injuries. Install thick climbing wall matting. Ensure it covers all the areas where falls might occur.
- Test Regularly: Before climbing, test the holds. Apply weight to see if they can handle strain. After adjustments, test again.
- Emergency Plan: Have a first-aid kit nearby. Know what to do in case of injuries. Keep your phone within reach should you need to call for help.
By following these steps, you ensure a safer climbing experience. Always prioritize safety over the challenge of your routes. Enjoy your indoor rock climbing wall with peace of mind, knowing that you’ve taken the right precautions.
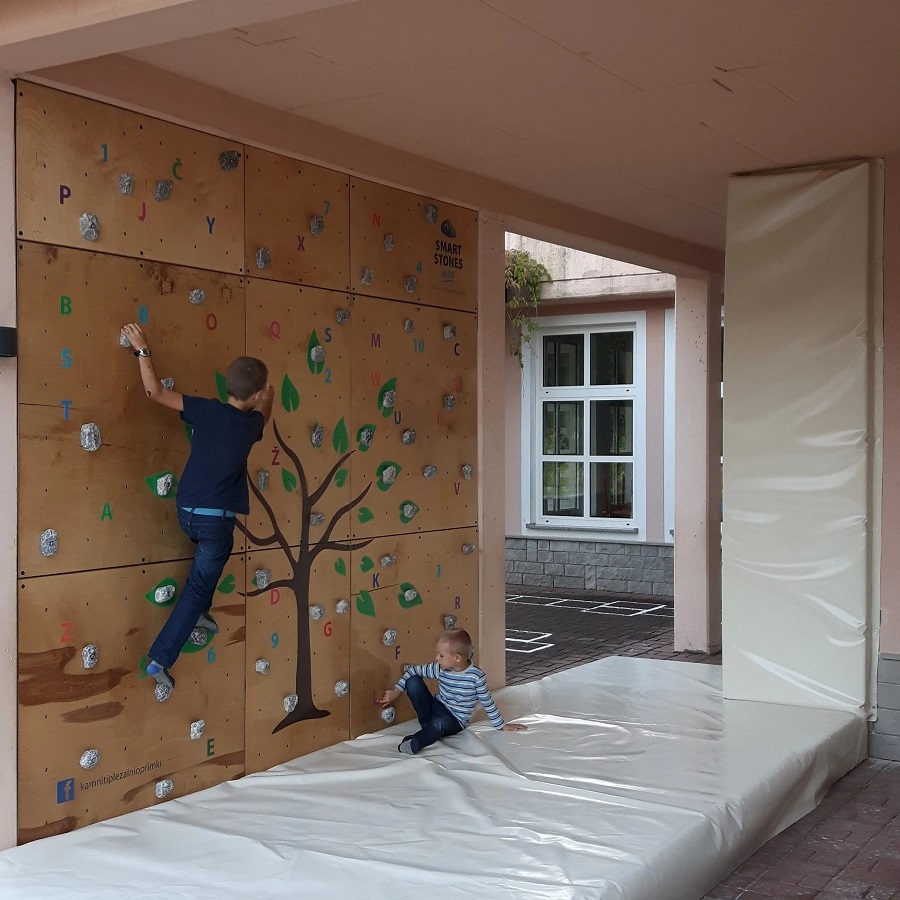
Customization Options for Personal Preferences
When it comes to creating your indoor rock climbing wall, personalization is key. It’s all about tailoring the experience to fit your individual needs and goals. Here are ways to customize your space:
- Choose Your Color Scheme: Pick colors that motivate you. Paint the panels before installing holds.
- Design Creative Routes: Set routes that challenge you. Change them occasionally to keep your workouts fresh.
- Add Climbing Accessories: Install a hangboard or campus rungs for extra training options.
- Variable Hold Placement: Mix up the type of holds and their placement to mimic the outdoor experience.
- Incorporate Technology: Consider adding an app or electronic system to track your progress.
- Adjust Wall Texture: Apply different textures to the wall for varied grip styles.
- Install Varying Angles: Build sections with different angles to challenge different skill levels.
Remember, the beauty of a home climbing wall lies in its flexibility to adapt to your climbing journey. Don’t hesitate to experiment and adjust over time to ensure your wall remains a valuable and enjoyable part of your climbing routine.
Maintenance and Upkeep of Your Climbing Wall
To keep your indoor rock climbing wall in top condition, regular maintenance is essential. Here’s what you should do:
- Inspect Holds Regularly: Check if all the climbing holds are tight. Loose holds can be dangerous. Tighten them with a wrench as needed.
- Clean the Wall Surfaces: Dust and chalk can build up over time. Wipe down the wall with a damp cloth to keep surfaces grippy.
- Look for Wear and Tear: Check the plywood for damage. If you find cracks or splits, replace the affected panels.
- Evaluate the Matting: Make sure your safety flooring is intact. Repair or replace worn-out crash pads to ensure protection.
- Schedule Deep Cleans: Plan to deep clean the holds and wall area occasionally. This prevents grime from affecting grip quality.
By adhering to these maintenance practices, you’ll extend the lifespan of your wall. This ensures a safe and enjoyable climbing experience every time. Remember, a little upkeep goes a long way.
Incorporating Training Elements into Your Climbing Wall Design
Designing your indoor rock climbing wall for training can greatly enhance your climbing abilities. Cool features can also help you stay motivated and challenged. Here are some ideas for adding training elements:
- Add Varied Hold Types: Use different shapes and sizes to challenge your grip strength and technique.
- Incorporates System Training: Set up symmetrical routes to practice moves and build muscle memory.
- Include a Campus Board: This simple, yet effective training tool helps improve power and dynamic movement.
- Mount a Hangboard: Ideal for finger strength training. Position it above your doorway for easy access.
- Create a Moon Board: Compatible with an app, it offers preset problems to tackle.
- Build a Volume: Add three-dimensional shapes to your wall to simulate rock features.
Train hard and smart. Your indoor rock climbing wall can be more than fun. It can be your path to greater climbing achievements. Stick to regular sessions, and you’ll see improvements in no time.