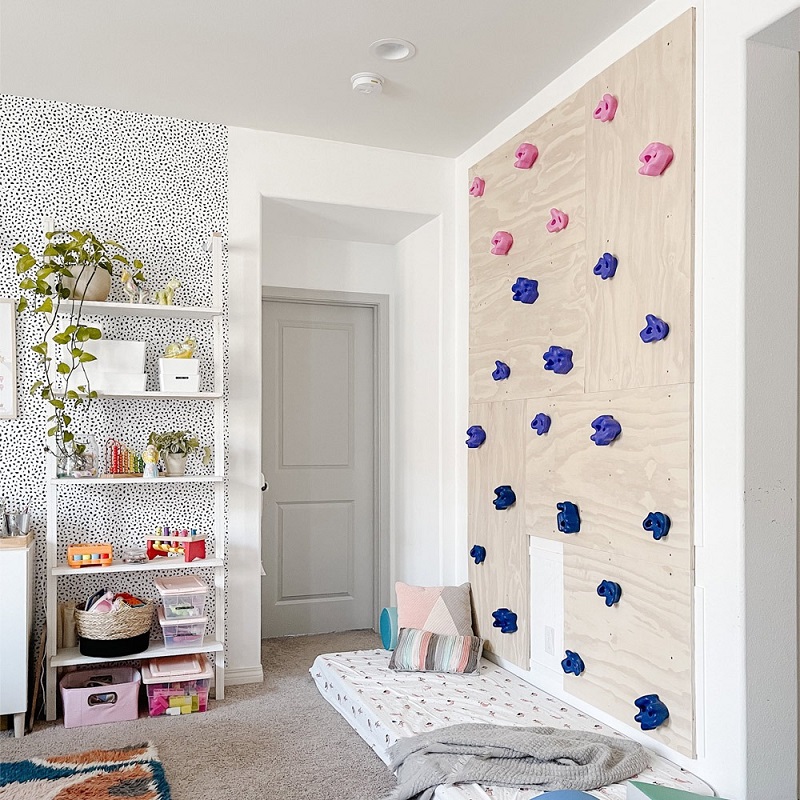
The Benefits of Having a Rock Climbing Wall at Home
Bringing the adventure of climbing to your doorstep, a home rock climbing wall offers numerous benefits. Here are some key advantages:
- Convenience: Skip the drive to the gym. Your rock climbing wall is just steps away, always ready when you are.
- Customized Training: Tailor your climbing sessions to fit your skill level and goals. You can design routes that challenge and develop your abilities.
- Family Fun: Engage the whole family. A rock climbing wall provides a fun activity that kids and adults can enjoy together.
- Fitness Benefits: Climbing is a full-body workout, improving strength, flexibility, and balance.
- Mental Challenge: Climbers often talk about the ‘problem-solving’ aspect of climbing routes, which can sharpen your focus and concentration.
Installing a rock climbing wall at home is not just about adding a piece of equipment; it’s about enhancing your lifestyle. Whether you’re training for outdoor climbing adventures or looking for a novel way to stay fit, a home climbing wall might be the perfect addition to your residence. Use it to build strength, forge bonding moments, conquer personal challenges, and even increase the value of your home.
Essential Equipment and Materials for Your Climbing Wall
Building a rock climbing wall requires key equipment and materials for a safe and functional setup. Here’s what you need:
Framing Materials
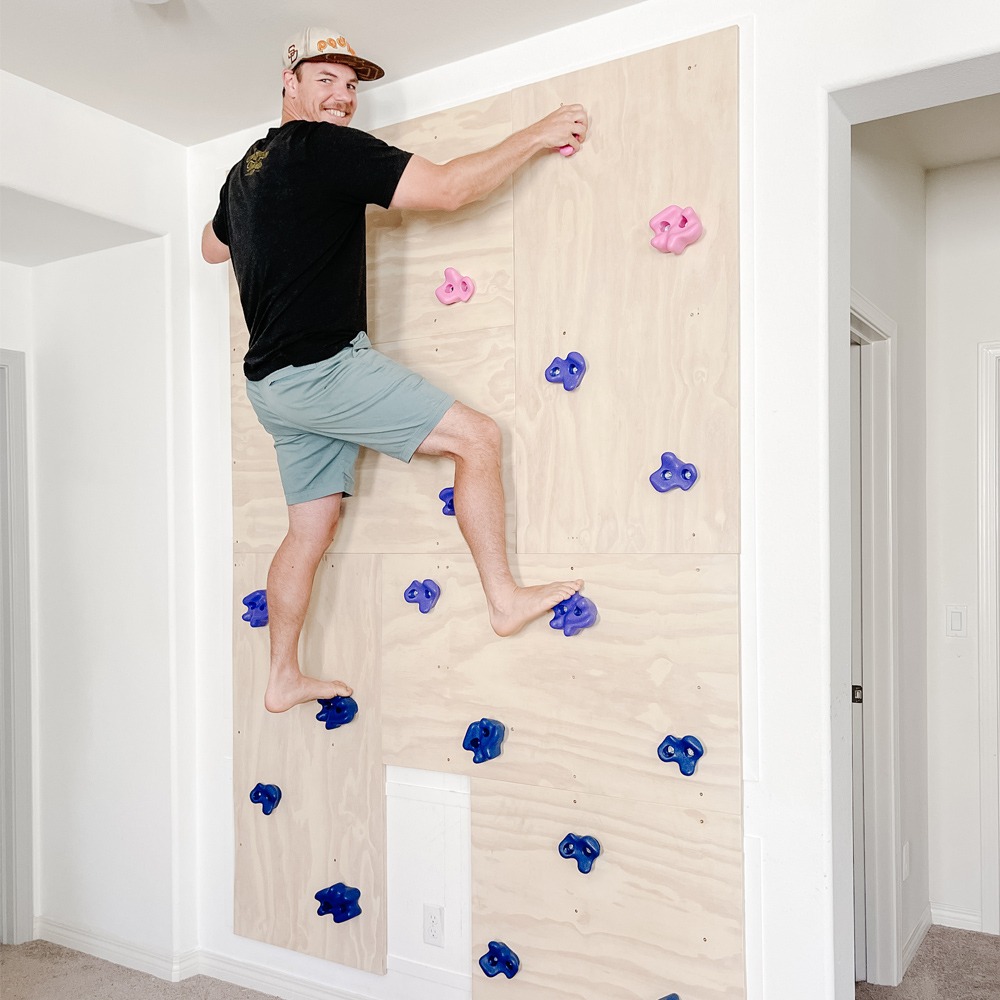
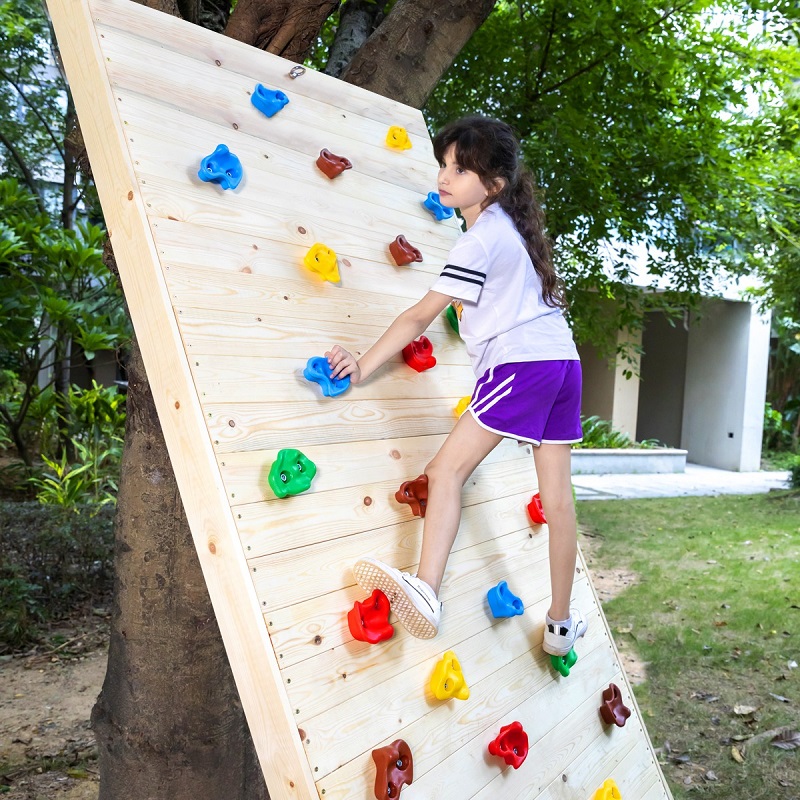
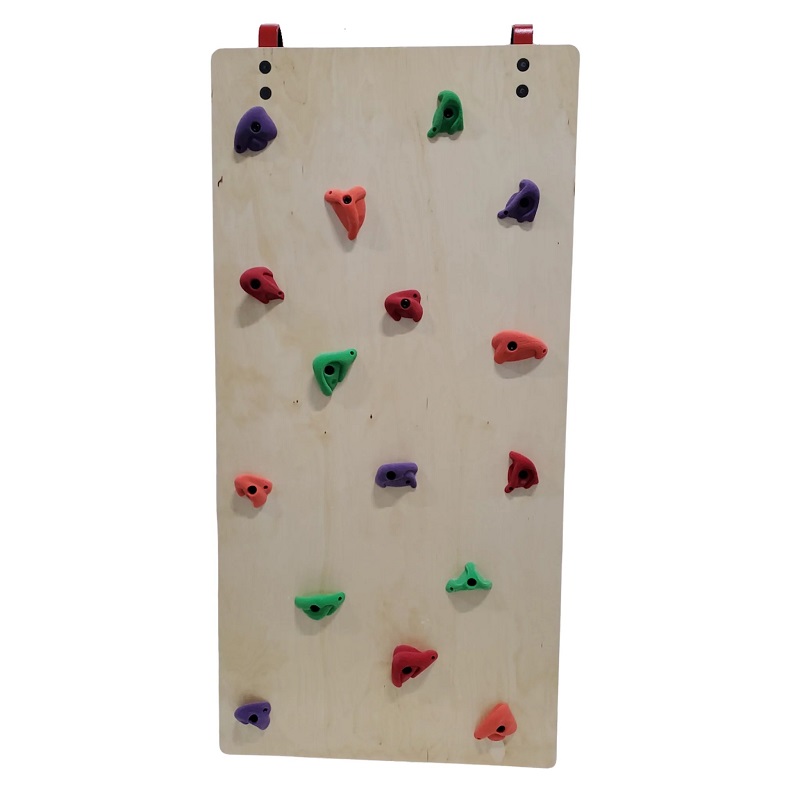
Your wall needs sturdy framing to support climbers. Use thick plywood panels for the surface. Choose high-quality timber for the frame. Steel anchors secure the frame to the floor or wall.
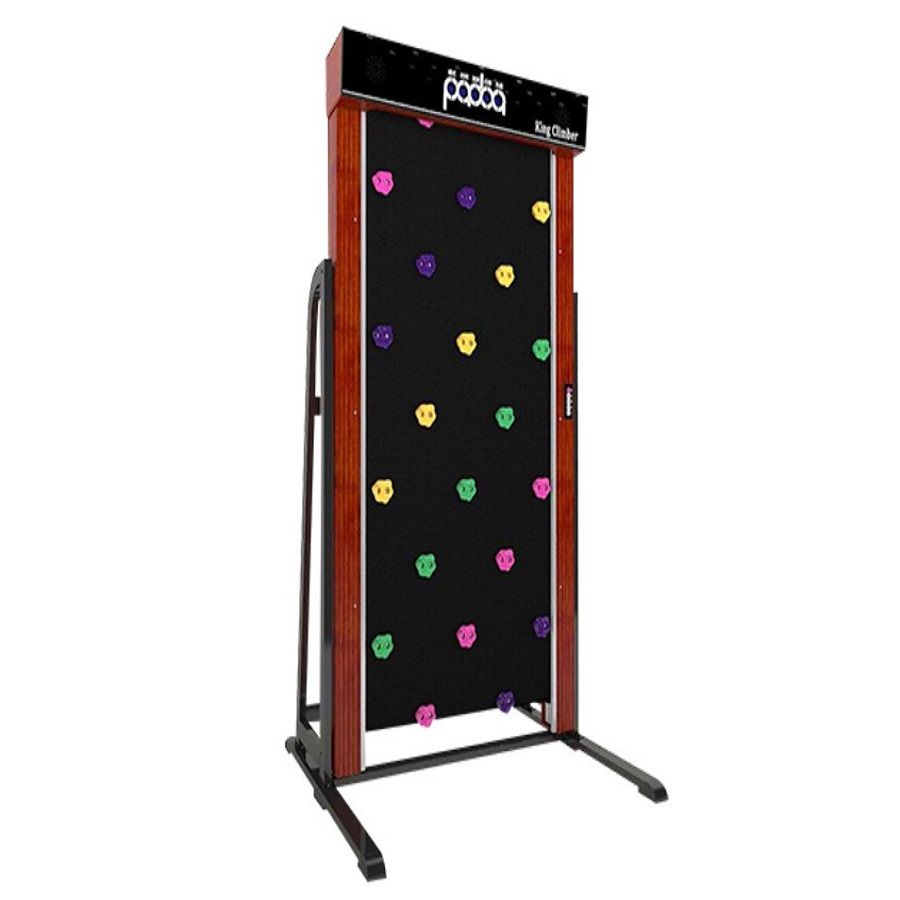
Climbing Holds
Pick various sizes and shapes of holds for different challenges. Make sure they come with strong bolts to fix them securely onto the plywood. Choose bright colors for a fun look and easy route identification.
Crash Pads
Place crash pads below your climbing wall. They cushion falls and help prevent injuries. Ensure the pads cover the entire fall zone for maximum safety.
Climbing Mats
Add climbing mats to absorb impact from falls. Pick thick, durable mats suited for indoor or outdoor use based on your setup.
Hardware
You need strong bolts and T-nuts for mounting the holds. A drill and a wrench will help you assemble the wall safely.
Step-by-Step Guide to Building a Rock Climbing Wall
Building your own rock climbing wall can be an exciting DIY project. Follow these steps to ensure success:
- Plan Your Space: Measure the area where you want to build. Consider ceiling height and floor space.
- Design the Wall: Sketch your climbing wall design. Include wall angles and hold placement. Use graph paper for accuracy.
- Gather Materials: Refer to the essentials list previously discussed. Buy quality materials for durability and safety.
- Build the Frame: Construct a solid frame using the chosen timber. Check that it is level and secure.
- Attach the Plywood: Screw the plywood panels onto the frame. Ensure they are firmly in place.
- Install T-Nuts: Place T-nuts on the plywood in a grid. They will hold the climbing holds.
Following this guide closely will help you create a strong and reliable rock climbing wall. Get creative with your design, keep safety in mind, and soon you’ll be climbing in the comfort of your home!
Design Ideas for Personalized Climbing Walls
Creating a rock climbing wall that reflects your personality and meets your specific climbing needs adds an extra layer of enjoyment to your home climbing experience. Here are some design ideas to help you personalize your wall:
Make it Colorful
Incorporate vibrant colors when picking your holds. Colors can set the difficulty levels and add a fun, inviting look.
Vary the Angles
Experiment with different angles in your wall design—vertical sections for beginners and overhangs for advanced climbers.
Add Texture
Use textured paint or attach different materials to the plywood to mimic the feel of real rock surfaces.
Adjustable Sections
Personalized design touches will not only make your rock climbing wall more engaging but also turn it into a standout feature in your home. Remember to keep your designs functional to maintain the usability and safety of your climbing wall.
Safety Considerations When Constructing and Using Your Wall
When crafting your rock climbing wall, safety is paramount. Here’s how to ensure a secure climbing environment:
Use High-Quality Materials
Don’t skimp on materials. Opt for strong, durable wood and reliable climbing holds. Check the quality before buying.
Secure Framing
Your framing structure must be robust. Ensure all connections are tight and the frame is stable.
Regular Inspections
Frequently check for loose bolts or holds. Inspect the wall and mats for wear and tear.
Adequate Fall Protection
Install crash pads and mats properly. They should cover the entire fall area to reduce injury risk.
Follow Installation Guidelines
Adhere to manufacturers’ instructions when installing holds and T-nuts. This will keep climbers safe.
Maintenance Tips for Long-Lasting Use
To extend the life of your rock climbing wall, regular maintenance is key. Here are practical tips:
Inspect Holds and Bolts
Check each hold and bolt often. Tighten any that have become loose over time.
Clean Holds Regularly
Dirt and grease reduce grip. Wash holds with mild soap and water to restore friction.
Monitor Wall Surface
Look for cracks or signs of wear in the plywood. Replace panels as needed for safety.
Check the Frame
Examine the frame’s stability. Reinforce any weak areas immediately to prevent accidents.
Refresh the T-Nuts
T-nuts can wear out, making holds less secure. Replace them before they fail completely.
Review Crash Pads and Mats
Ensure that crash pads and mats retain their cushioning. Replace them if they show significant wear.
Update Routes
Changing routes adds variety and prevents overuse of certain holds, reducing wear.
By following these maintenance steps, your rock climbing wall will remain a safe and enjoyable feature in your home for years to come.
Adding Fun Features and Challenges
Adding fun features and challenges to your rock climbing wall can keep the experience fresh and engaging. Here are some ideas to boost the enjoyment and test your climbing skills:
Incorporate Climbing Games
Introduce games that require strategy and skill. Examples include ‘Add-On’, where climbers take turns adding one move to a route, and ‘HORSE’, where climbers replicate challenging moves set by others.
Set Timed Challenges
Use a stopwatch to create timed climbs. This encourages speed and agility. Compete with others or try to beat your personal best.
Add a Campus Board
Including a campus board to your climbing area can help build upper body strength and improve grip. It’s a versatile training tool for climbers.
Install a Hangboard
A hangboard allows for finger strength training. It’s perfect for warming up before a climb or for dedicated finger workout sessions.
Use Volume Holds
Incorporate volume holds to create more realistic rock features. They add complexity and require different gripping techniques.
Include Dynos and Jumps
These additions are not only enjoyable but also beneficial for improving climbing techniques and physical conditioning. Regularly updating and adding new challenges to your rock climbing wall ensures that climbers of all levels stay engaged and motivated.
The Best Holds and Routes for Various Skill Levels
To cater to all climbers, a rock climbing wall must offer diverse challenges. Here are tips to choose holds and design routes:
Choose the Right Holds
For beginners, use large, juggy holds that are easy to grip. Intermediate climbers can try smaller, but still sizable holds that require more hand strength. For experts, go for small crimps and pinches that demand precise body positioning and strong fingers.
Designing Beginner Routes
These routes should have plenty of holds close together. Create straight paths that let new climbers build confidence. Avoid overhangs or very steep sections.
Intermediate Challenges
Start adding slight inclines to the wall. Space the holds a bit further apart. Introduce a mix of hold types to push climbers a little harder.
Expert Routes
Include overhangs, vertical sections, and fewer holds. Place holds that force more dynamic moves. Set routes that test endurance and strength.
Dynamic and Static Movements
Include dynamic jumps or ‘dynos’ for a fun challenge. Static routes require slow, controlled movement. Both types train different skills.