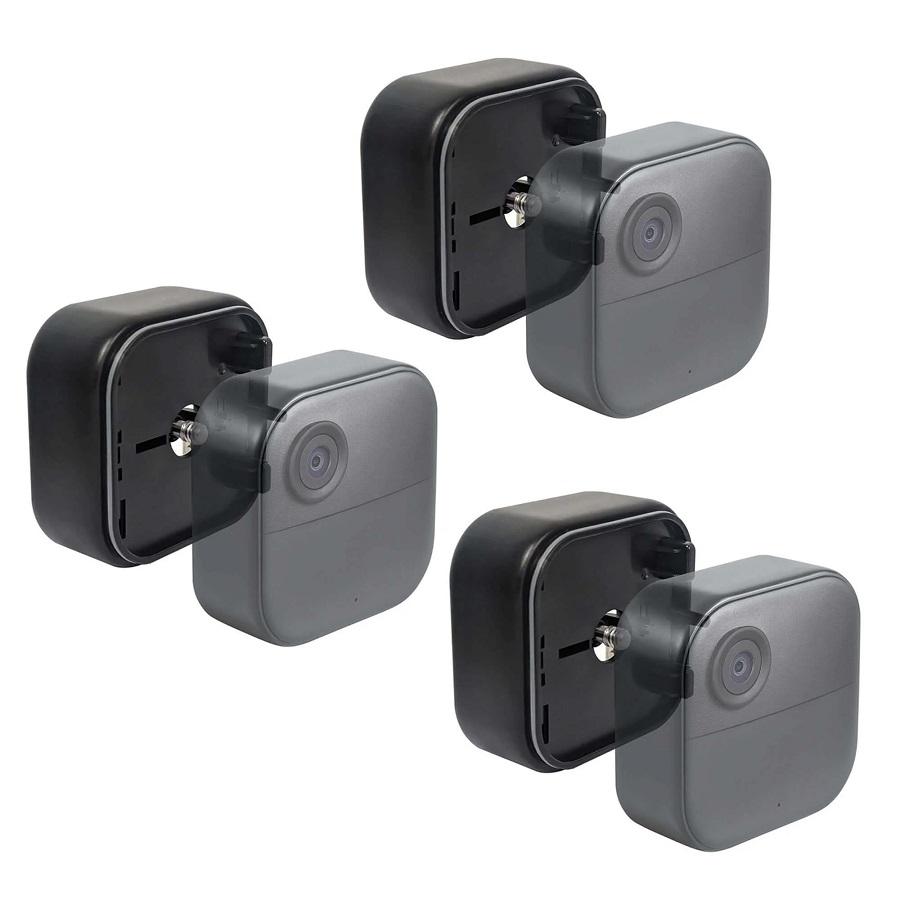
Essential Tools and Components for Blink Outdoor Camera Installation
How to mount blink outdoor camera? Before you begin to mount your Blink outdoor camera, ensure you have the right tools and components. A complete setup includes the camera itself, a mounting bracket, and tools for installation. Most importantly, having a drill and screwdriver on hand will make the process smoother.
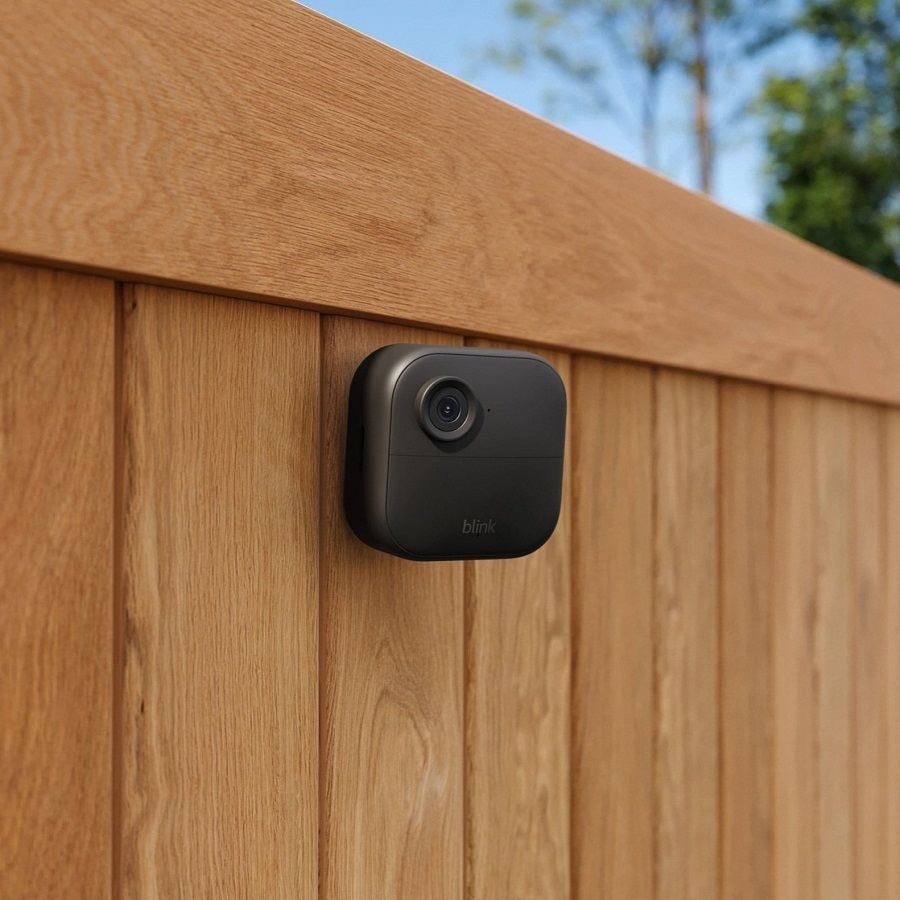
Mounting Hardware Included with Outdoor 4
The Outdoor 4 camera comes with specific mounting hardware. You’ll find a mount, a right angle adapter (also known as the opening tool), and two screws in the packaging. Keep in mind, the provided mount is designed exclusively for the Outdoor 4 model. Mounting onto wooden or brick surfaces works best with this equipment. Before attaching the camera, make sure the mount is securely fixed to your chosen spot.
Choosing the Ideal Location for Your Blink Outdoor Camera
When setting up your Blink outdoor camera, picking the right spot is vital for security effectiveness. To tap into the full potential of your camera’s motion detection, there are several factors you should keep in mind. The right location not only provides a clear view but also enhances the camera’s ability to alert you to any activities.
Factors to Consider for Optimal Motion Detection
To ensure your Blink outdoor camera captures motion effectively, here are key points to consider:
- Cross-traffic Movement: Position the camera so that movements happen across its field of vision. This angle makes it easier to detect motion compared to a direct approach or retreat.
- Height and Angle: Mount the camera at an elevated height, ideally between 8 to 10 feet. This reduces the chances of tampering and captures a wide area.
- Obstruction-Free Zone: Keep the camera’s view clear of any obstructions like trees or decor that may hinder motion detection.
- Stable Background: Avoid areas with frequent movement in the background, such as busy roads or blowing trees, which can trigger false alarms.
- Lighting: Ensure the place has adequate lighting; too much backlight can shadow the faces, while too little light may result in unclear footage.
- Weather Protection: Choose spots under eaves or similar structures to shield the camera from direct rain or sun, which helps to prolong the camera’s life.
By carefully selecting the location concerning these factors, you’ll enhance your camera’s detection capabilities, ensuring you get timely and relevant motion alerts.
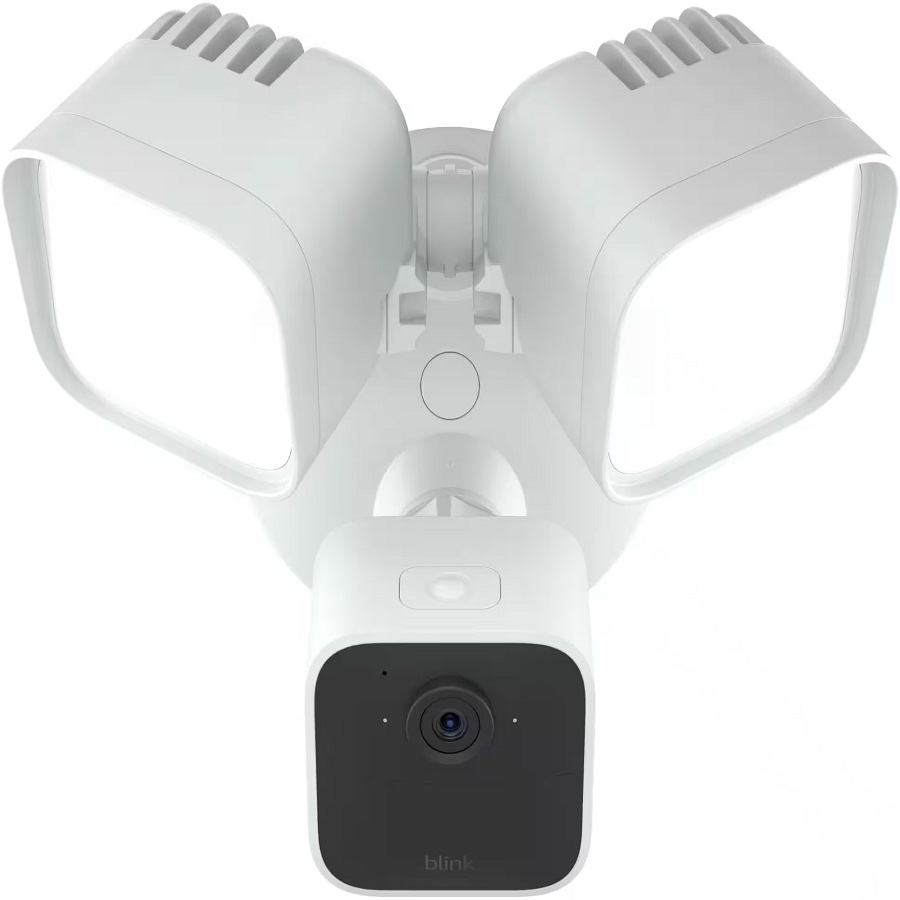
Preparing for Installation: Marking the Spot
Before drilling holes or attaching any hardware, it’s critical to mark where your Blink outdoor camera will go. This preparation simplifies the installation process and reduces errors. Here’s what to do:
- Choose your camera location following the tips from the previous section.
- Hold the camera in the chosen spot to visually confirm the field of view.
- Use the Blink app to check the camera’s perspective. Access Live View or refresh the thumbnail to ensure coverage.
- Once satisfied, mark the location with a pencil or masking tape. This will be where you drill your holes.
- Double-check the placement. Ensure the spot gives you an adequate view and fulfills motion detection needs.
Using the Blink App for Precise Placement
The Blink app is a powerful ally in achieving precision when determining where to mount your Blink outdoor camera. Utilize the app’s features to assist in placement:
- Open the Blink app and go to the camera settings option.
- Activate the Live View mode to get real-time images from the camera.
- Assess the view and adjust the location as needed until optimal coverage is achieved.
- When the appropriate placement is found, use the app to take a snapshot for reference during the physical installation.
By carefully marking the spot and utilizing the Blink app for placement, you set the stage for a successful and straightforward installation process. Follow these steps to ensure your Blink outdoor camera is well-positioned to provide the best security coverage for your property.
Mount Installation Process
Now that you’ve selected the perfect location for your Blink outdoor camera, it is time to begin the physical installation. This phase is critical in ensuring that your camera operates effectively and remains secure over time.
Step-by-Step Guide to Securing the Mount
- Confirm the Position: Use the marks you made earlier to confirm the exact location for the mount.
- Prepare Your Tools: Have your drill and screwdriver ready. The screws provided with your Outdoor 4 camera are the only ones compatible with the mount.
- Drill Pilot Holes: Carefully drill holes where you’ve marked. This will make it easier to drive in the screws.
- Secure the Mount: Align the mount over the pilot holes and use the screws to secure it. Make sure it is tight enough to withstand weather and tampering.
- Check the Stability: Give the mount a gentle pull to test its firmness. If it moves, tighten the screws further.
- Attach the Adapter: If needed, connect the right angle adapter to the mount before attaching the camera. This is especially useful for horizontal surfaces.
By following these steps, you can mount your Blink outdoor camera with confidence, knowing that it is positioned and secured properly. Next, you’ll attach the camera to the mount, completing the physical aspect of the installation process.
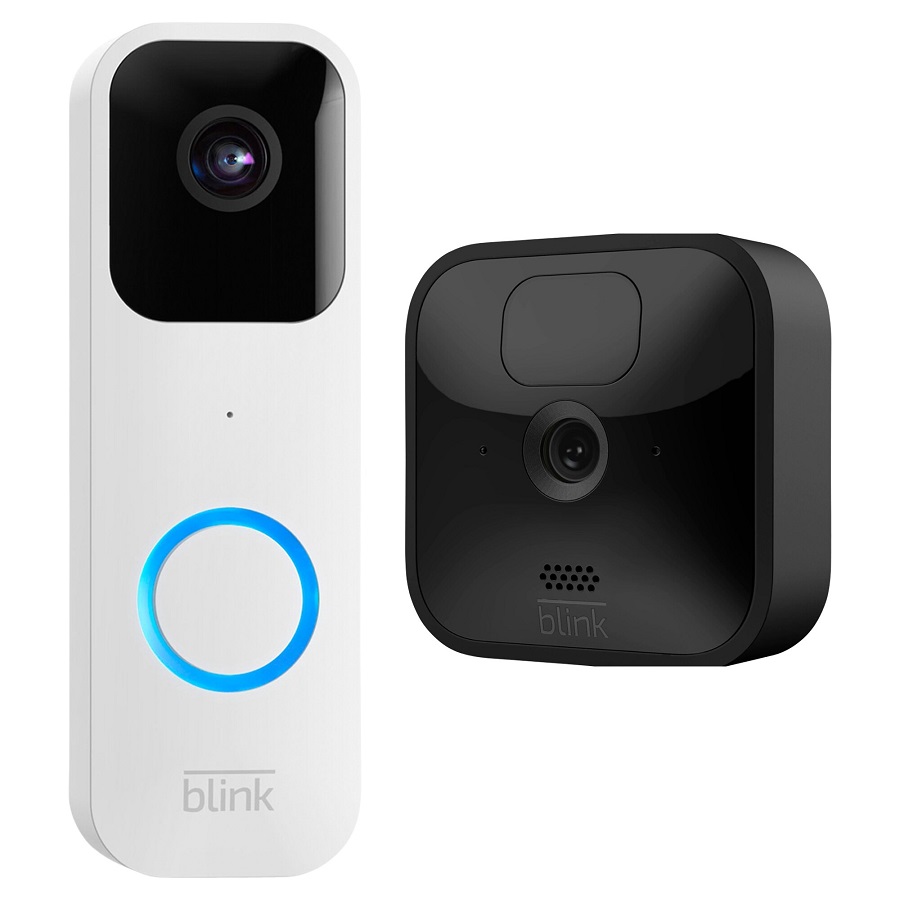
Attaching Your Blink Outdoor Camera to the Mount
After securing the mount, it’s time to attach your Blink outdoor camera. This step is simple, but it’s crucial to do it right for the camera to function well and stay in place.
Tips for Vertical Surface Mounting
For mounting on a wall or post, align the camera with the mount properly. Here’s how:
- Align the Camera: Position the camera over the mount.
- Snap in Place: Gently push until you hear the mount snap, signaling a firm attachment.
- Adjust the View: Tilt the camera to get the correct angle. Confirm the view through the Blink app.
Take your time to ensure the camera is stable and points where you need it. Check the Blink app once more after installation to make sure everything looks good.
Be mindful of how the power cable is managed to avoid exposure to elements that could damage it.
Directions for Horizontal Surface Mounting
Mounting on a ceiling or shelf requires a different approach. Follow these steps:
- Attach the Right Angle Adapter: Before placing the camera on the mount, snap the adapter into the camera’s back.
- Attach to Mount: Press the adapter to the mount’s connection point until it clicks.
- Ensure Stability: Gently tug to make sure the camera is securely locked in.
Always remember to view and adjust the camera’s angle from below when mounting on a horizontal surface. Confirm with the Blink app that your camera’s angle captures the desired area.
Final checks with the Blink app are essential to ensure the camera’s view is optimal and ready to detect any movement.
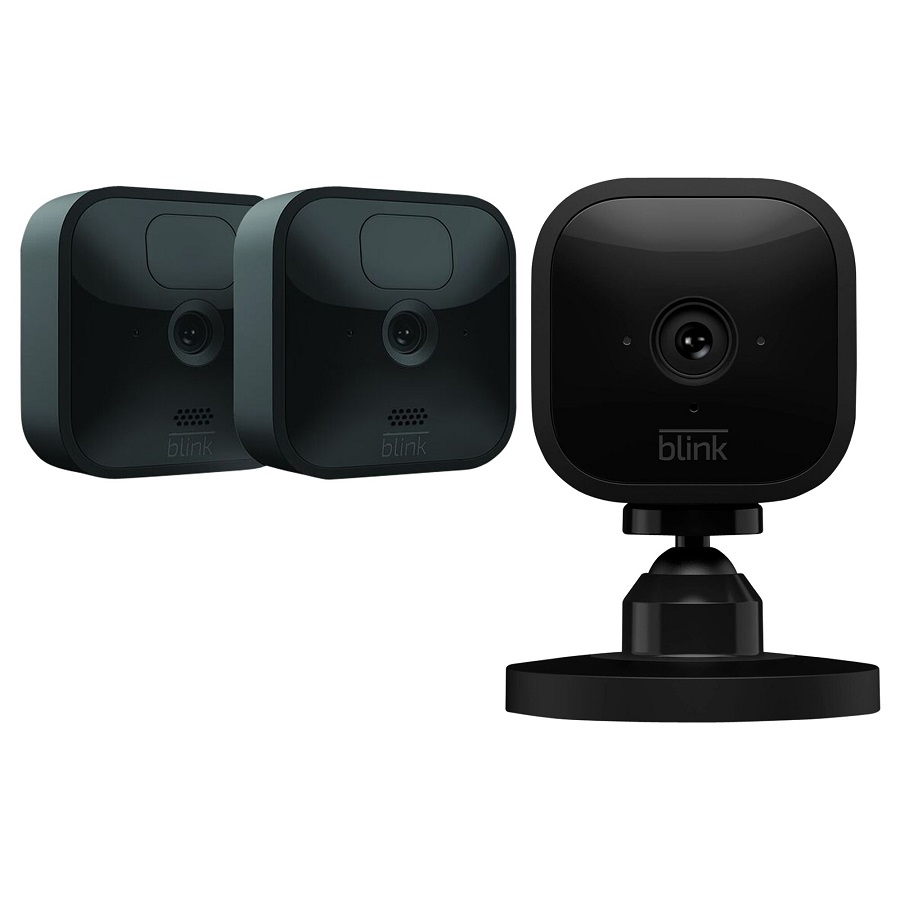
Final Steps: Securing and Checking Your Blink Outdoor Camera
Ensuring a Proper Camera Angle and View
Getting the ideal angle for your Blink outdoor camera is the last crucial step. Aim for a clear view with a wide range of visibility. Make sure to consider the following tips:
- Adjust the Angle: Tilt and turn the camera until you cover the desired area. A good rule is to aim for an angle that shows both the ground and the horizon in the frame.
- Check the View: Use the Blink app’s Live View feature to see the camera’s field of vision in real-time. Make sure no blind spots are present where an intruder could hide.
- Tighten Securely: Once the angle is perfect, tighten the camera on the mount to prevent it from moving. This reduces the risk of it being nudged out of place.
- Perform a Walk Test: Walk around the area to test motion detection. If the camera detects movement consistently, you have set it up correctly.
Remember, your Blink outdoor camera needs a solid mount and the right angle to work best. A final review using the Blink app will help confirm everything is set for optimal security. Keep track of how to mount the Blink outdoor camera for future reference. Regular checks and maintenance ensure your security system stays in top shape.
