I. Introduction
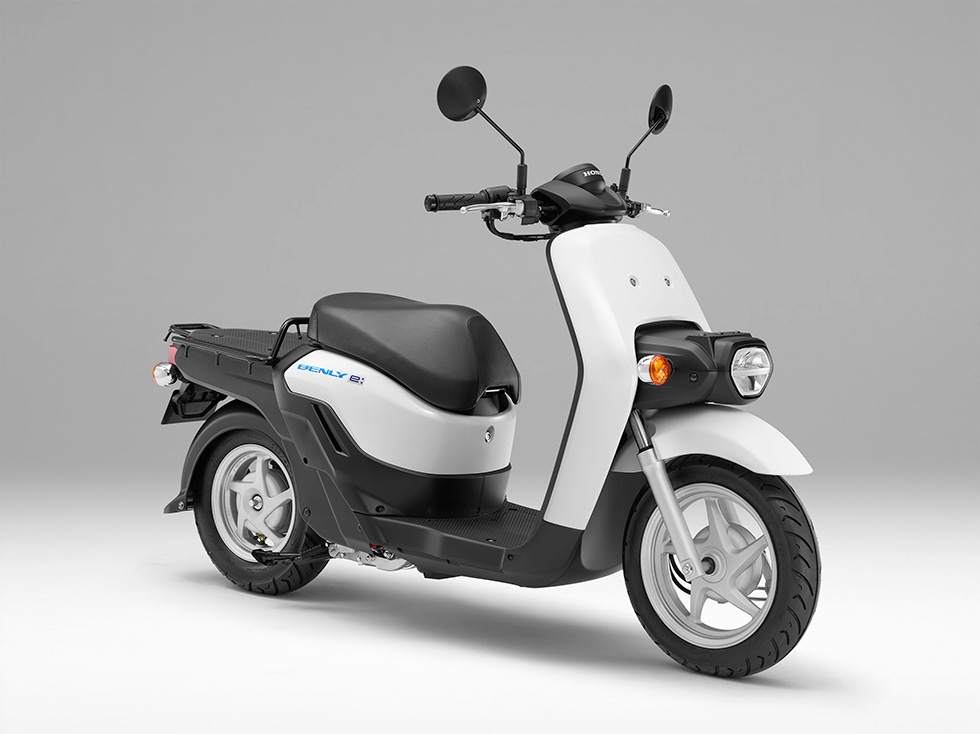
A. Overview of electric scooters Electric scooters are becoming increasingly popular as a means of transportation due to their convenience, affordability, and environmental benefits. These vehicles are powered by an electric motor and are typically powered by rechargeable batteries.
B. Importance of the electric starter for scooter functionality The electric starter is a crucial component of an electric scooter as it is responsible for initiating the motor’s rotation. It allows the scooter to start smoothly without the need for a manual kick-start. Having a properly functioning electric starter is essential for the scooter to operate efficiently and reliably.
C. Purpose and scope of the article The purpose of this article is to provide a comprehensive guide to troubleshooting and fixing potential issues that may cause an electric scooter not to start. We will discuss various possible causes for a scooter not starting, including battery-related issues, electrical system problems, motor-related issues, and other potential causes. By understanding these causes, readers will be equipped with the knowledge to diagnose and address the problem themselves.
II. Possible Causes for an Electric Scooter Not Starting
- Insufficient charge in the battery One common cause for a scooter not starting is an insufficient charge in the battery. If the battery is not charged adequately, it may not have enough power to initiate the motor’s rotation. This can be a result of forgetting to charge the battery, overusing the scooter without recharging, or a faulty charger.
- Battery connections not secure or corroded Another potential issue with the battery is loose or corroded connections. If the battery connections are not secure or have corrosion, it can prevent the flow of electricity between the battery and the scooter’s electrical system.
B. Electrical system problems
- Faulty ignition switch The ignition switch is responsible for controlling the flow of electricity to the scooter’s electrical system. If the ignition switch is faulty, it may not supply power to the necessary components, preventing the scooter from starting.
- Defective starter solenoid The starter solenoid is a component that connects the battery to the starter motor. When the ignition key is turned, the solenoid receives an electrical current, which activates the starter motor. If the solenoid is defective, it may not engage the starter motor, preventing the scooter from starting.
- Faulty motor controller The motor controller is responsible for regulating the power supply to the motor, ensuring its smooth operation. If the motor controller is faulty or damaged, it may not provide the necessary power to start the motor, causing the scooter not to start.
- Burnt-out motor In some cases, the motor itself may be the cause of the scooter not starting. If the motor is burnt out or damaged, it will not be able to function, resulting in the scooter’s failure to start.
D. Other potential causes
- Loose or damaged wiring Wiring issues, such as loose connections or damaged wires, can also prevent the scooter from starting. If there are loose or disconnected wires, the flow of electricity may be disrupted, preventing the scooter’s motor from starting.
- Malfunctioning kill switch The kill switch is a safety feature that allows the rider to turn off the scooter’s motor in case of an emergency. However, if the kill switch is malfunctioning, it may prevent the scooter from starting altogether, even when not engaged.
III. Troubleshooting Steps
A. Step 1: Checking the battery
When your electric motor fails to start, the first step in troubleshooting is to check the battery. A dead or faulty battery can often be the culprit behind the motor’s failure. Here are two important tasks to perform in this step:
- Testing the battery charge: Start by using a battery tester or a multimeter to measure the voltage of your electric motor’s battery. A fully charged battery should typically measure around 12.6 volts. Anything below 11 volts indicates that the battery is either discharged or defective and needs to be recharged or replaced.
- Inspecting battery connections: Ensure that the battery terminals are clean and securely connected to their corresponding cables. Loose or corroded connections can disrupt the flow of electricity, leading to a malfunctioning motor. Clean any corrosion from the terminals using a battery terminal cleaner or a mixture of baking soda and water. Tighten the connections and ensure they are making good contact with the battery terminals.
B. Step 2: Examining the electrical system
If the battery is functioning correctly, the problem may lie within the electrical system of your electric motor. Here are two important tasks to perform in this step:
- Testing the ignition switch: Check if the ignition switch is functioning properly by turning it on and off and observing any signs of damage or looseness. You can also use a multimeter to test the continuity of the switch.
- Checking the starter solenoid: The starter solenoid plays a crucial role in starting the motor by connecting the battery to the motor. Inspect the solenoid for any signs of damage, such as melted connections or loose wires. Use a multimeter to test the solenoid’s continuity and ensure that it is functioning correctly.
C. Step 3: Assessing the motor
If the battery and electrical system are in good condition, the problem may lie within the motor itself. Here are two important tasks to perform in this step:
- Testing the motor controller: The motor controller regulates the speed and direction of the electric motor. Check if the controller is receiving power by testing the voltage at its input terminals. Use a multimeter to ensure that the voltage matches the required specifications. If the controller is not receiving power, there may be an issue with the wiring or the battery connection.
- Inspecting the motor for damage: Examine the motor for any visible signs of damage, such as burnt or melted components, loose wires, or worn-out brushes. Clean any debris or dirt that may have accumulated around the motor. If you suspect any damage or wear, consider consulting a professional or replacing the motor.
D. Step 4: Inspecting wiring and kill switch
If all the previous steps have been completed without identifying the issue, it’s time to inspect the wiring and kill switch. Here are two important tasks to perform in this step:
- Checking for loose or damaged wiring: Inspect the wiring connections throughout the electric motor system. Look for any loose or corroded wires that may be causing a disruption in the electrical flow. Repair or replace any damaged wires as necessary.
- Testing the kill switch functionality: The kill switch is designed to shut off the motor in case of an emergency or to prevent unauthorized use. Test the kill switch to ensure it is functioning correctly by activating and deactivating it.
IV. Troubleshooting Tips and Safety Precautions
A. Using a multimeter for testing
A multimeter is an indispensable tool for troubleshooting electrical issues in an electric motor. It allows you to test voltage, continuity, and resistance, helping you identify faulty components. When using a multimeter, make sure to follow these tips:
- Set the multimeter to the correct range and function for the specific test you are performing.
- Ensure the multimeter leads are securely connected to the appropriate terminals or wires.
- Avoid touching the metal parts of the leads while performing tests to prevent electric shocks or short circuits.
- Take measurements while the electric motor is disconnected from the power source to avoid any accidents.
B. Proper safety measures while troubleshooting
When troubleshooting an electric motor, it is essential to prioritize safety to prevent injuries or damage. Here are some important safety precautions to follow:
- Disconnect the electric motor from its power source before conducting any tests or inspections.
- Use insulated tools to avoid electric shocks.
- Wear safety goggles and gloves to protect your eyes and hands from potential hazards.
- Keep the work area clean and clear of any clutter for easier maneuverability.
- Read and follow the safety instructions provided by the manufacturer of your electric motor.
C. Seeking professional assistance if needed
If you have followed all the troubleshooting steps outlined above and are still unable to identify or solve the problem with your electric motor, it may be time to seek professional assistance. Electric motors can be complex systems, and the expertise of a trained technician may be necessary to diagnose and resolve the issue correctly.
Remember, attempting to repair or modify an electric motor without proper knowledge and experience can be dangerous and may lead to further damage. Therefore, if you are unsure about any aspect of troubleshooting or repairing your electric motor, it is always safer to consult a professional.