I. Introduction
The appeal of outdoor cooking and the benefits of having an outdoor oven:
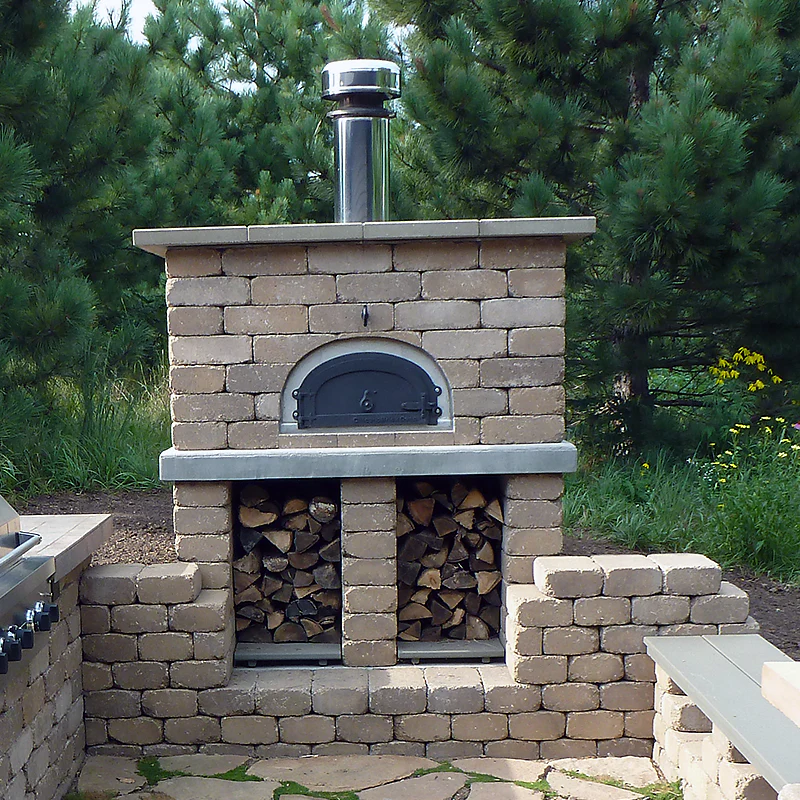
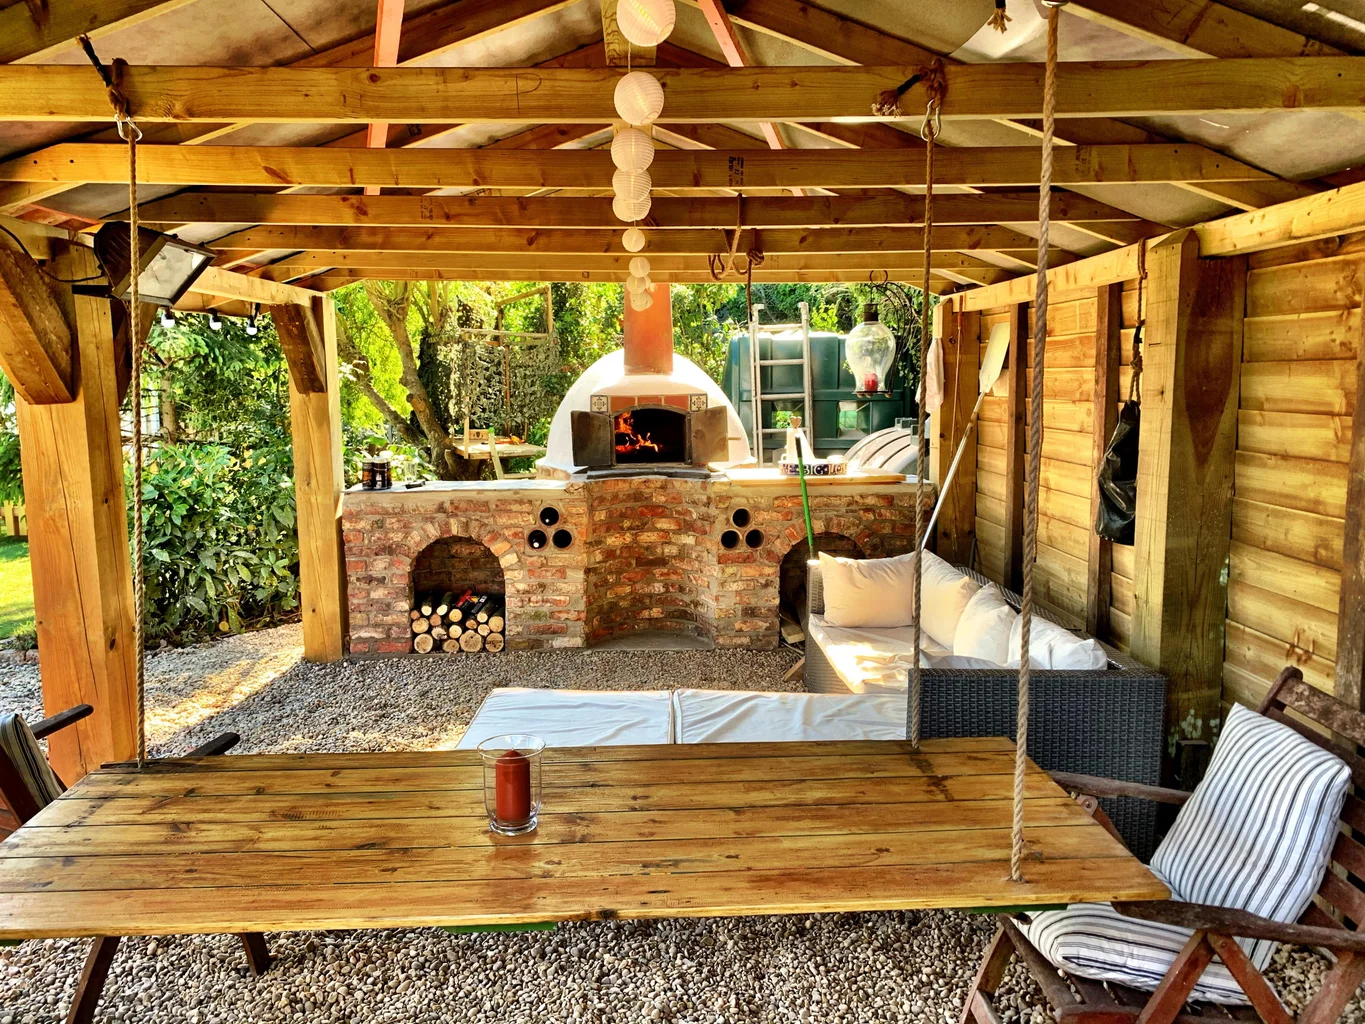
Outdoor cooking is a popular activity among both culinary enthusiasts and those who simply enjoy spending time outdoors. There is something special about cooking and dining al fresco, surrounded by nature, and creating delicious meals using fire and smoke. An outdoor oven takes this experience to the next level, providing a dedicated space for baking, roasting, and grilling in your own backyard. In this step-by-step guide, we will explore how to build your own outdoor oven and create the perfect outdoor kitchen.
II. Planning and Preparing
A. Selecting the Location:
Before you start construction, it is important to carefully consider the location for your outdoor oven. Some key factors to keep in mind include:
- Assessing suitable areas in the backyard: Look for a space that is both easily accessible and offers enough room for the oven and any accompanying outdoor kitchen features you may have in mind.
- Considering safety, convenience, and aesthetic factors: Ensure that the location provides a safe and functional area for cooking. Consider factors such as proximity to your home, wind direction, and any potential fire hazards.
- Ensuring proper ventilation and clearance requirements: Adequate ventilation is essential for safe use of the oven. Make sure there is ample space around the oven for proper airflow and clearance from flammable materials.
B. Choosing the Oven Design:
When it comes to building an outdoor oven, there are a variety of design options to consider. Some popular choices include:
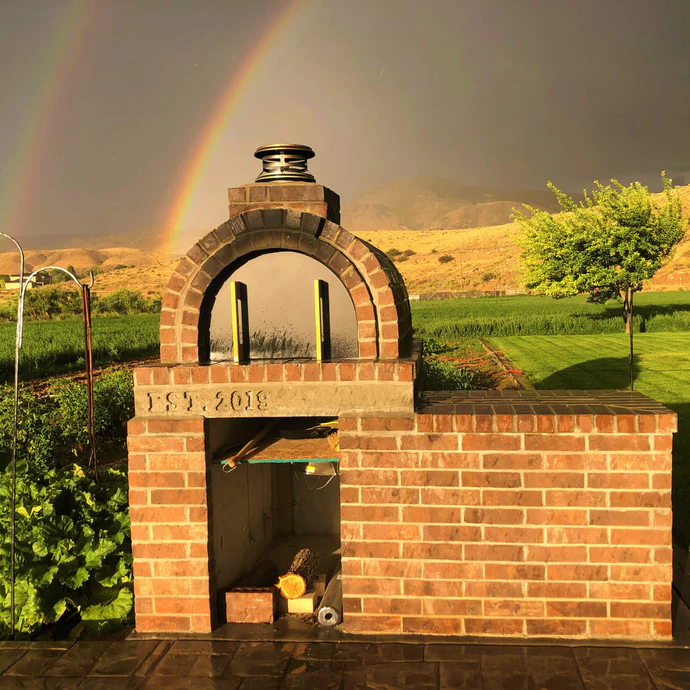
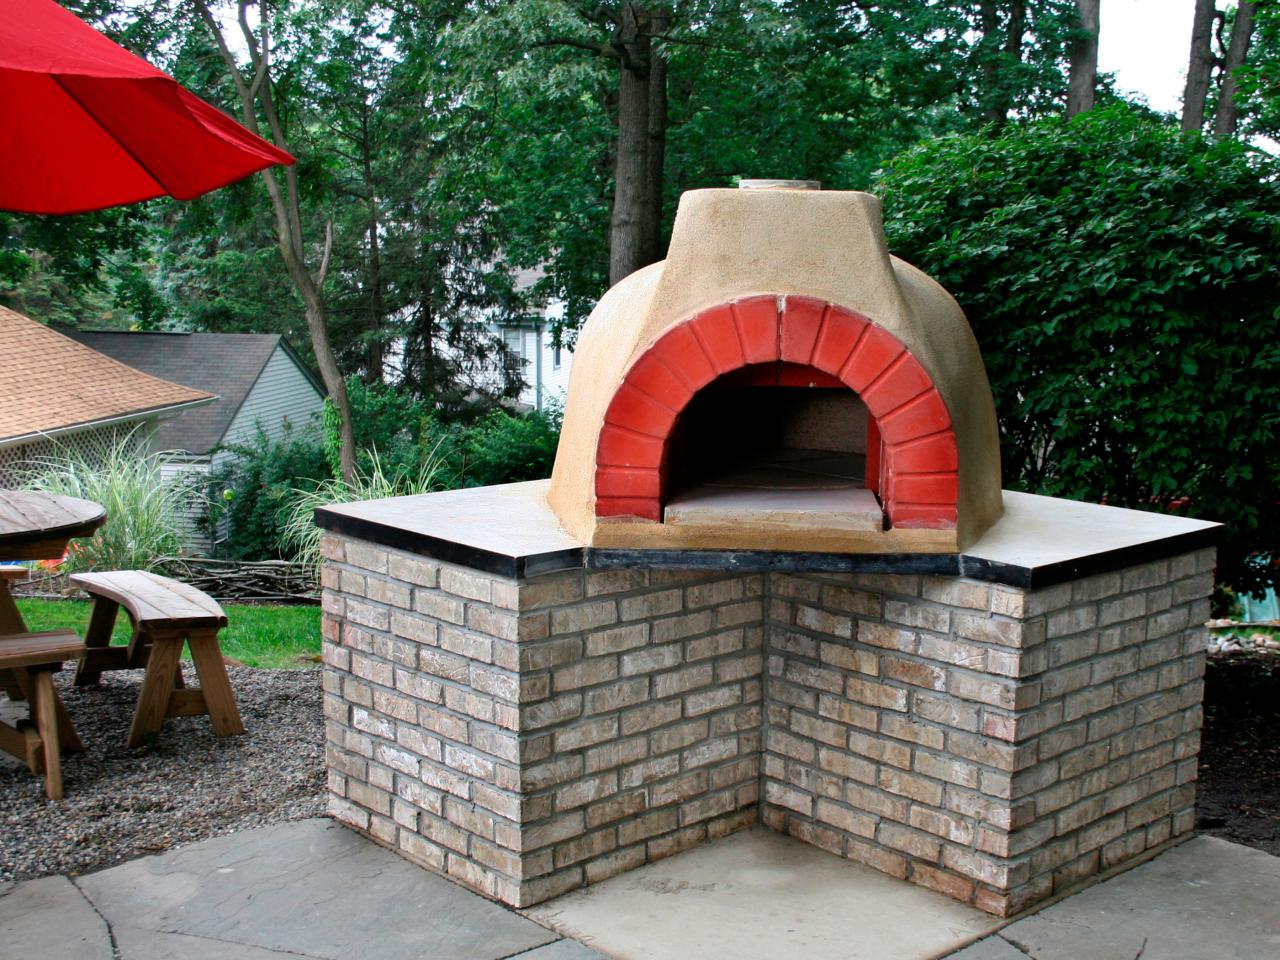
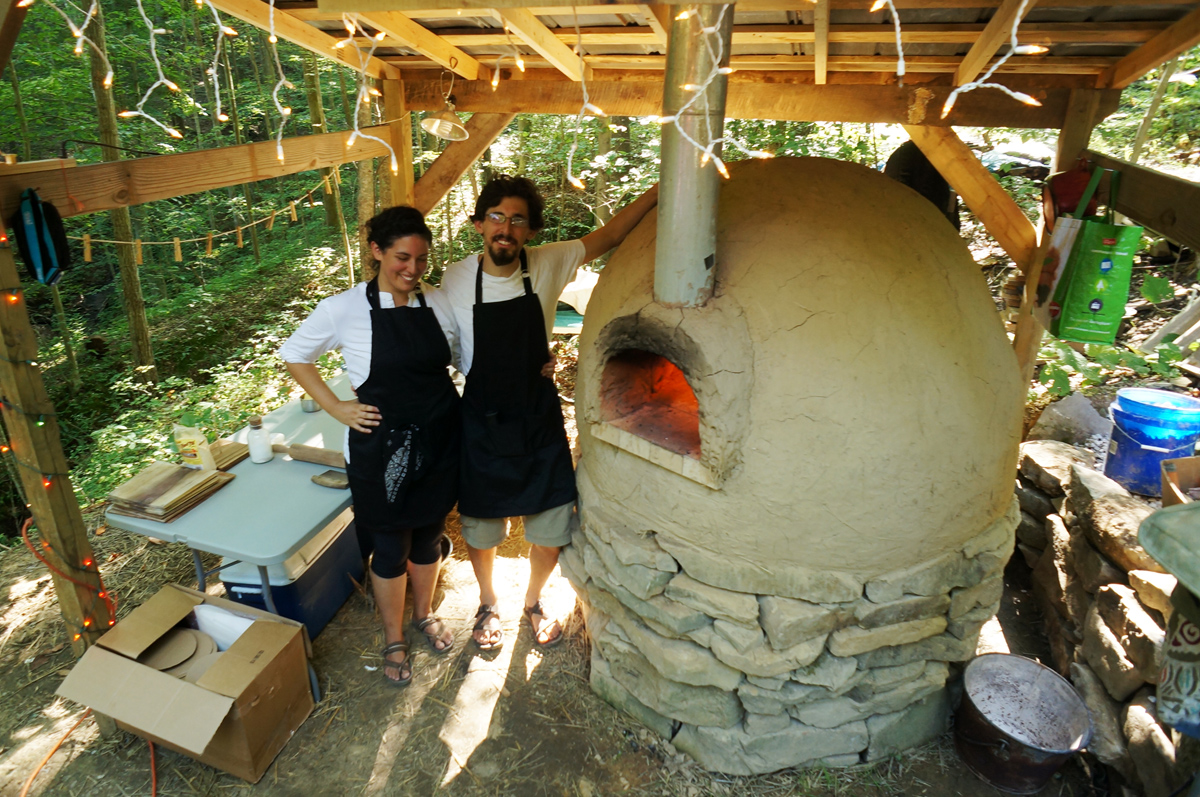
- Researching different types of outdoor ovens: Explore different designs such as brick ovens, clay ovens, or portable ovens. Each type has its own unique characteristics and advantages.
- Considering factors such as size, materials, and available resources: Determine the size of the oven based on your cooking needs and available space. Consider the materials you have access to, as well as your budget and desired aesthetic.
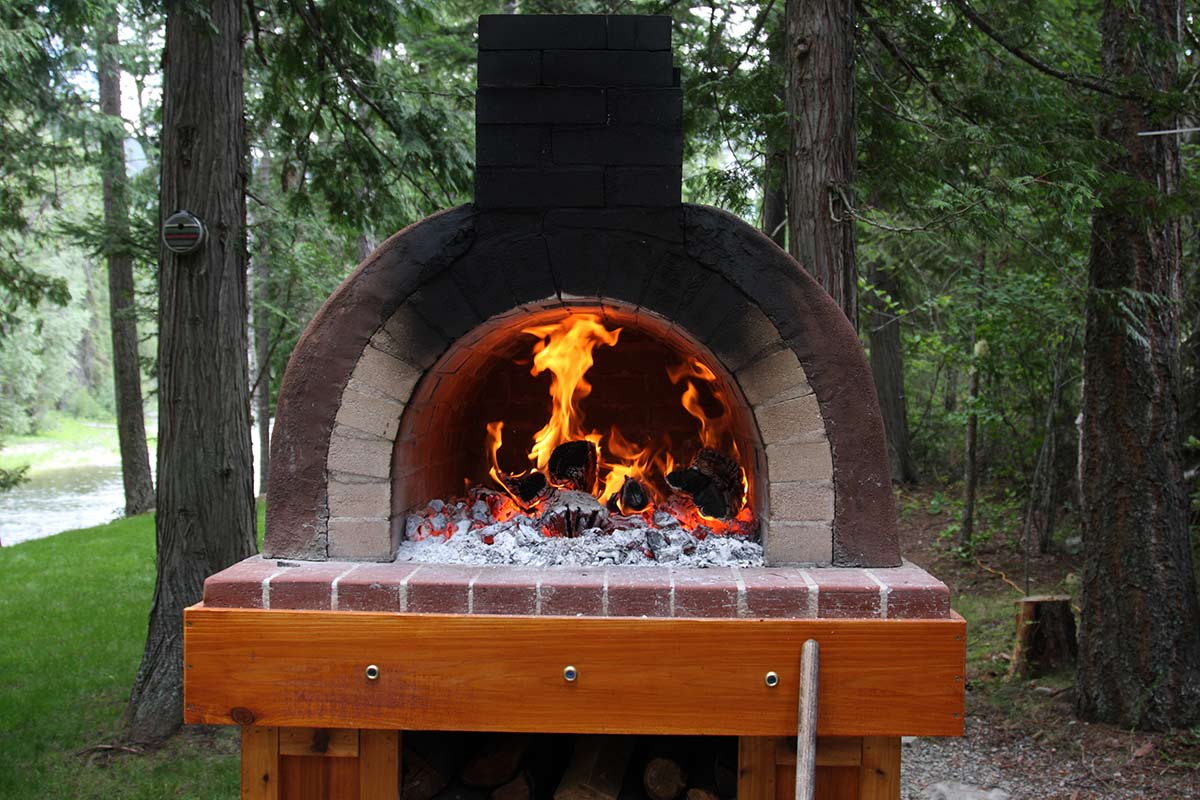
- Deciding on the desired cooking capabilities: Think about the specific foods and dishes you want to cook in your oven. Do you envision yourself baking pizzas, roasting meats, or perhaps even experimenting with bread-making? Choose a design that aligns with your cooking ambitions.
III. Gather Materials and Tools
A. Oven Components and Construction Materials:
To build your outdoor oven, you will need a variety of materials. Some key components include:
- Bricks, concrete, or clay for the oven base and walls: These materials will provide the foundation and structure for your oven.
- Heat-resistant insulation materials: Insulation plays a crucial role in ensuring efficient heat retention. Look for materials such as ceramic fiber blankets or vermiculite.
- Fire bricks or refractory materials for the cooking surface: The cooking surface needs to withstand high temperatures and provide an even heat distribution. Fire bricks or refractory materials are ideal for this purpose.
B. Required Tools and Equipment:
Having the right tools and equipment will make the construction process much easier. Some essential items include:
- Basic hand tools: Hammer, tape measure, level, and a chisel will help with the construction and leveling of the oven.
- Masonry tools: A trowel, mortar mixer, and masonry saw are necessary for working with bricks and mortar.
- Protective gear: Don’t forget to prioritize safety by wearing gloves, goggles, and a face mask while working with mortar and potentially hazardous materials.
IV. Building the Outdoor Oven
A. Constructing the Oven Base
To build a durable and stable outdoor oven, it is essential to start with a solid foundation and a level base. The following steps outline the process for constructing the oven base:
- Preparing the Foundation and Leveling the Oven Base Before laying the bricks or building the base, it is important to prepare the foundation. Clear the area of any debris or vegetation and ensure the ground is compacted and level. Use a shovel or a rake to smooth out the surface and create a stable foundation.
- Laying the Bricks or Building the Base Using Other Chosen Materials Depending on the chosen design and materials, determine whether it will be a brick oven or if other materials will be used. If using bricks, lay them out in a pattern to form the base of the oven. Alternatively, other materials like concrete blocks or prefabricated oven bases can be used.
- Ensuring Stability and Strength of the Oven Base Once the bricks or the chosen base materials are in place, ensure they are level and firmly secured. Use a level to check for any unevenness or sloping. Adjust the bricks or base materials as necessary, tapping them into place with a rubber mallet. Ensure a solid and stable foundation for the oven.
B. Building the Oven Walls and Dome
 The next step in constructing an outdoor oven is building the walls and forming the dome. Follow these steps to create a sturdy and efficient oven structure:
- Creating a Brick or Clay Dome Structure Determine the desired shape and size of the oven dome. The dome can be built using bricks or clay. Lay the first layer of bricks or clay in a circular pattern, ensuring they are tightly packed together. Gradually build up the dome following the desired shape and height, taking care to maintain consistent thickness.
- Applying Mortar and Layering the Bricks or Clay As you build the dome, apply mortar between each layer of bricks or clay. Use a trowel to spread a thin layer of mortar, ensuring good adhesion between the materials. Take care to maintain even spacing between each brick or clay layer to ensure stability and prevent any weak points.
- Building in Layers and Shaping the Dome for Optimal Heat Distribution Continue layering and shaping the dome until the desired height is reached. As the dome takes shape, consider its internal dimensions to optimize heat distribution and airflow. Use a level and a straight edge to check for symmetry and make any necessary adjustments. The dome should have a smooth, rounded shape that allows for efficient circulation of heat.
C. Installing the Cooking Surface and Insulation
Creating a suitable cooking surface and ensuring proper insulation are essential for optimal cooking performance. Follow these steps for installing the cooking surface and insulating the oven:
- Placing Fire Bricks or Refractory Materials on the Cooking Surface The cooking surface of the oven should be made from fire bricks or other refractory materials. These materials can withstand high temperatures and provide a stable and even surface for cooking. Lay the fire bricks or refractory materials on top of the dome, ensuring they fit tightly together.
- Adding Insulation Materials to Retain Heat Efficiently To enhance heat retention and energy efficiency, insulate the oven. Common insulation materials include ceramic fiber blankets, vermiculite, or perlite. Add a layer of the chosen insulation material around the sides and top of the oven dome, taking care to cover the entire surface.
- Securing the Cooking Surface and Insulating the Oven Walls To secure the cooking surface, use a heat-resistant adhesive or mortar to bond the fire bricks or refractory materials to the dome. Ensure a tight fit and smooth surface. Additionally, insulate the walls of the oven by adding insulation materials around the perimeter and covering them with a protective layer, such as metal or heat-resistant cement board.
V.Conclusion
Building an outdoor oven is a rewarding DIY project that allows you to enjoy the joys of outdoor cooking and entertaining. By carefully constructing the oven base, building the walls and dome, and installing necessary components like the cooking surface and insulation, you will be well on your way to creating a functional and visually appealing outdoor oven. Remember to incorporate creative finishes and prioritize safety measures to ensure enjoyable and safe cooking experiences in your backyard kitchen.