Planning Your Rock Climbing Wall
When you set out to build a diy rock climbing wall, planning is key. Start with a detailed plan to ensure a safe and enjoyable climbing experience.
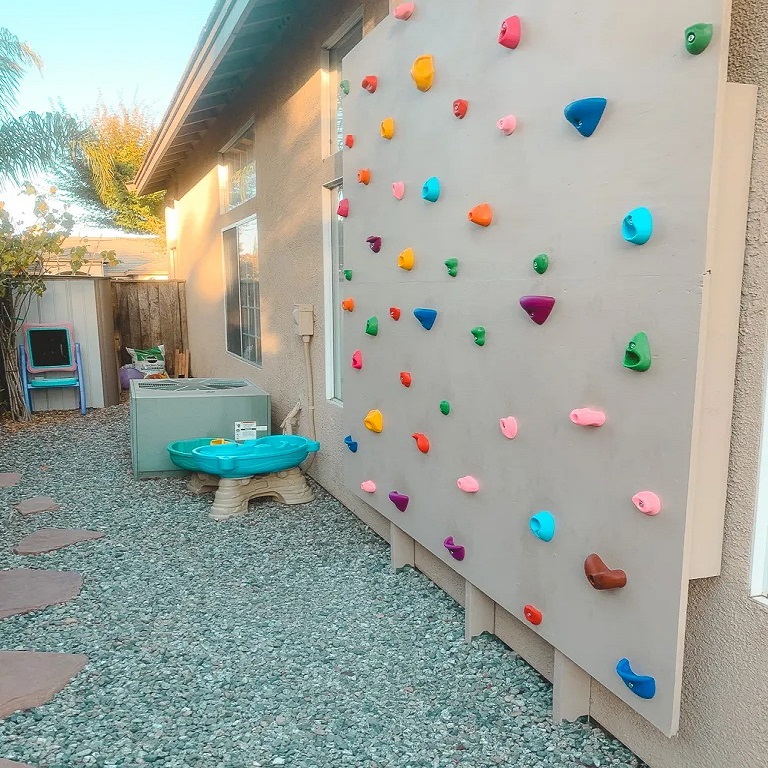
Choosing the Location
The first step is selecting the perfect location for your wall. It should be easily accessible, have ample space, and a strong support structure if needed. Consider indoor options like a garage or a spare room, or outdoor spaces such as the side of a shed or a backyard.
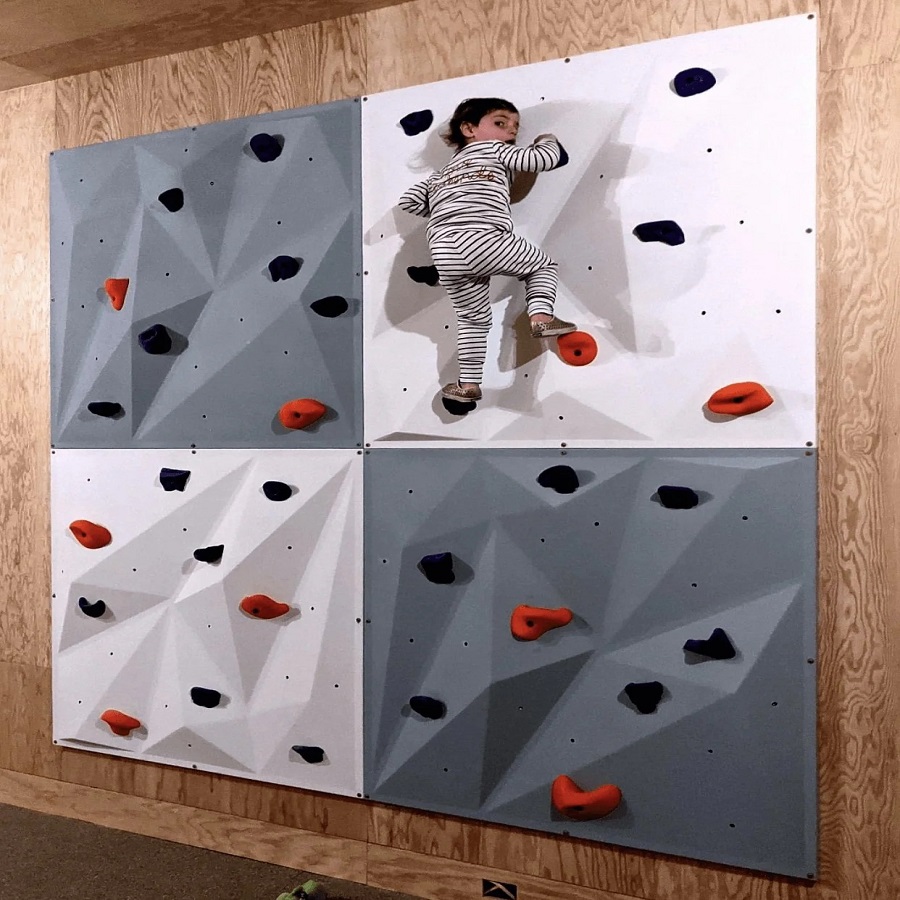
Determining the Size and Design
Decide on the size of your diy rock climbing wall based on available space and your climbing goals. Will it be a full-scale wall or a smaller one for practice? Next, sketch a design. Think about the wall angle, as steeper angles add difficulty. Include varied routes and potential upgrades in the design.
Selecting Materials
Choose durable materials that can withstand weight and weather if outdoors. For the structure, pressure-treated wood is commonly used. For the climbing surface, plywood is preferred due to its strength and affordability. Also consider the grip texture; a mixture of paint and sand can offer good traction.
Tools and Materials Needed
Gathering the right tools and materials is crucial for constructing a sturdy diy rock climbing wall.
Essential Tools for Construction
Building a rock climbing wall requires a set of essential tools. These generally include a drill, a saw, a hammer, wrenches, and a measuring tape. Ensure you have a level for accuracy in wall construction. For assembling the frame and climbing surface, screws and bolts are also necessary. A staple gun can be handy for attaching the wall texture material.
Safety Equipment
Safety should be your top priority. Before you start, equip yourself with gloves, safety goggles, and a dust mask, especially when cutting wood or mixing textures. If you plan to work at height while installing holds, include a safety harness and helmet in your gear.
Types of Holds and Where to Buy Them
Climbing holds come in various shapes, sizes, and difficulties. You can purchase them from sporting goods stores or online from specialized retailers. Consider a mix of jug, crimp, pinch, and sloper holds to create diverse climbing routes. Prices may vary, so shop around for the best deals without compromising on quality.
Step-by-Step Construction Process
Building your diy rock climbing wall is an exciting project. Follow these steps for a smooth construction process.
Building the Framework
Start by erecting the frame. Use pressure-treated lumber to ensure longevity. Assemble the base, sides, and cross supports precisely. Remember, a strong frame guarantees climber safety. Check all joints and connections with a level to avoid later complications.
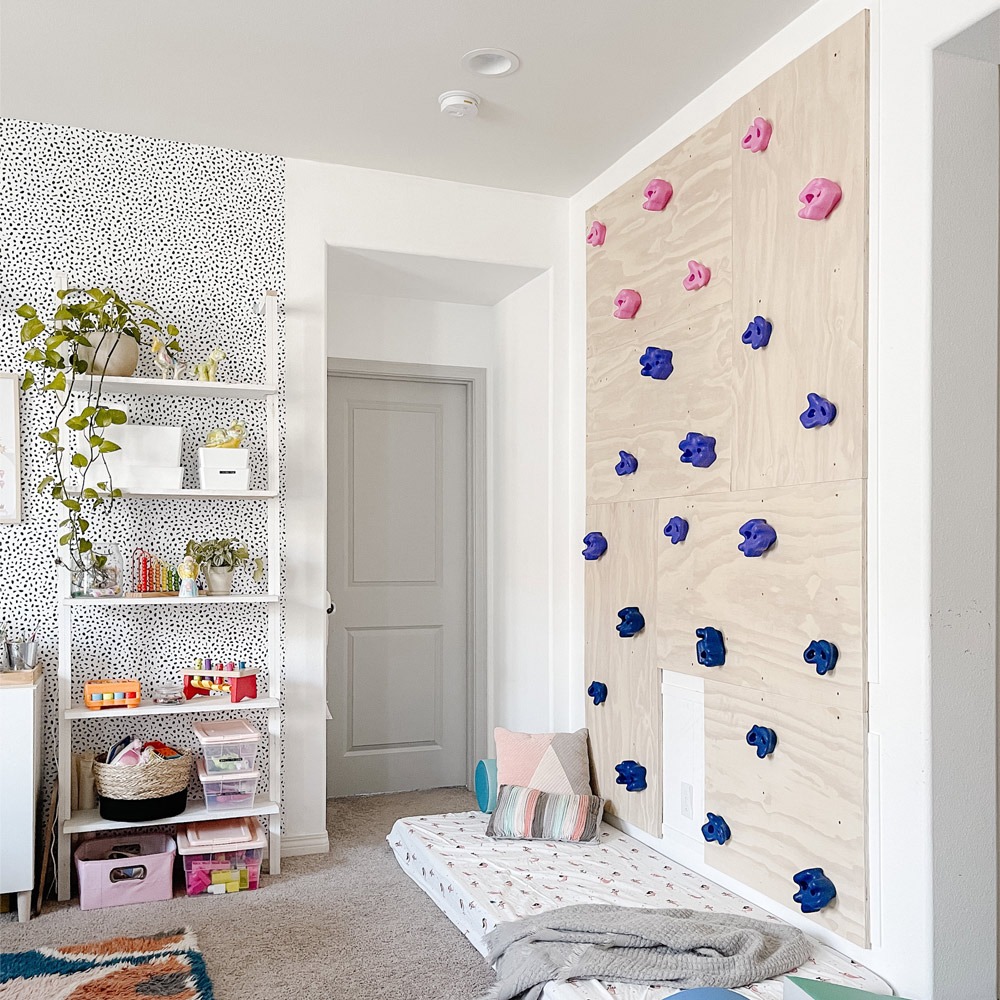
Plywood and Wall Texturing
After the frame, mount your plywood panels. Use screws to securely attach them to the framework. Ensure panels are flush and no edges protrude. Next, texturize the surface. Mix sand with paint, and evenly apply it to the plywood for grip. Allow it to dry thoroughly before moving to the next step.
Installing Climbing Holds
Finally, set the climbing holds. Mark the points for hold placement as per your design. Drill holes and use bolts to fix the holds in place. Tighten each hold securely, but don’t overtighten as it may damage the wood. Distribute holds to create routes varying in difficulty. And there you have it – your own diy rock climbing wall ready for action.
Safety Measures and Best Practices
To ensure lasting enjoyment of your diy rock climbing wall, prioritize safety and best practices from the start.
Wall Stability and Durability
A stable and durable diy rock climbing wall relies on meticulous construction and proper materials. Check all supports and anchors regularly. Use weather-resistant materials for outdoor walls to prevent wear.
Regular Maintenance Tips
Keep your climbing wall in top condition with routine inspections. Look for loose holds, damaged plywood, or structural weaknesses. Tighten bolts and replace worn holds as needed. Cleaning the holds will also maintain good grip.
Using the Wall Safely
Climb with care, especially when first using your wall. Always have a spotter and use proper climbing gear. Practice safe fall techniques and set limits to prevent overexertion. This will keep climbers safe and help avoid injuries.
Customization and Creative Ideas
Creating a diy rock climbing wall offers the opportunity to personalize your climbing experience. Here are some ideas to customize your wall and make it truly unique.
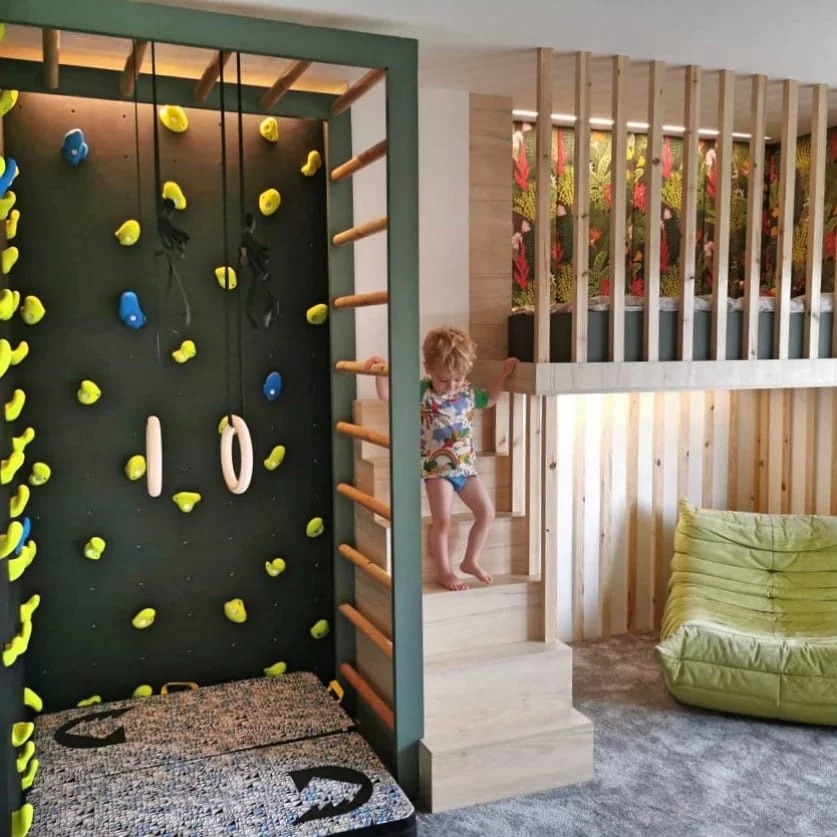
Themed Walls for Kids
Designing a wall for children? Make climbing fun by adding a theme. Consider painting the wall with bright colors and playful images that spark imagination. You can create a jungle scene, a space adventure, or a fairytale castle. Use holds shaped like animals or stars to fit the theme. Safety mats with matching designs can complete the playful look. This can turn climbing into a thrilling adventure for little ones.
Integrating Advanced Features for Training
For avid climbers looking to improve, there are advanced features you can add. Consider setting up a system board for training specific moves. Adding a campus board can boost finger strength and power. For endurance practice, create a traverse wall. These additions can help climbers push their limits and track progress. With creativity, your diy rock climbing wall can evolve into a comprehensive training area.
Cost Considerations
Creating a DIY rock climbing wall is an exciting and rewarding project. But, it’s important to consider the costs involved to ensure that your project is financially feasible. This section will guide you through estimating your budget and provide tips for keeping costs down without sacrificing quality.
Estimating Your Budget
To build your DIY rock climbing wall, begin by listing all materials and tools you will need. This includes lumber, plywood, climbing holds, paint, sand, and any safety equipment. Next, check prices at local hardware stores or online.
Tips for Cost-Saving Without Compromising Quality
- Buy in Bulk: Often, retailers offer discounts on bulk purchases. If you need a lot of plywood or holds, this could save you money.
- Recycle Materials: Look for used wood or tools from local sales, or online marketplaces. This can cut costs and is eco-friendly.
- Do-It-Yourself: Save on labor by doing the work yourself. Use tutorials and ask friends for help to avoid hiring professionals.
- Shop Around: Compare prices from different stores and online. Look for sales, discounts, and clearance items.
Careful planning and smart shopping can help you build a DIY rock climbing wall within a reasonable budget, giving you a space to climb and train without breaking the bank.
Community and Support
Building a DIY rock climbing wall not only benefits you but can also foster a community of like-minded enthusiasts. Engaging with the climbing community can provide support, share knowledge, and heighten the overall enjoyment of your project.
Finding Local Climbing Enthusiasts
Discovering local climbers is a great way to exchange tips and make climbing a group activity. Here’s how:
- Join Climbing Groups: Search for climbing clubs or groups in your area on social media.
- Visit Local Gyms: Climbing gyms often host events where you can meet others interested in the sport.
- Community Boards: Post on local online forums. Many cities have boards where climbers connect.
- DIY Events: Host a small event or a wall unveiling to draw in fellow DIYers and climbers.
Hosting Climbing Events and Competitions
Once your DIY rock climbing wall is up, consider bringing people together through events or friendly competitions.
- Hold Workshops: Teach climbing techniques or wall-building tips to locals.
- Create Challenges: Set up climb-offs or time trials for different skill levels.
- Social Climb Nights: Regular meet-ups can be a fun way to practice and socialize.
- Competitions: Organize friendly contests with small prizes. It’s a great way to motivate climbers and showcase their skills.
Remember, a successful DIY rock climbing wall is more than just the build— it’s about the community you can create around it. By sharing your passion and knowledge, you not only improve your own skills but also contribute to the local climbing scene.